
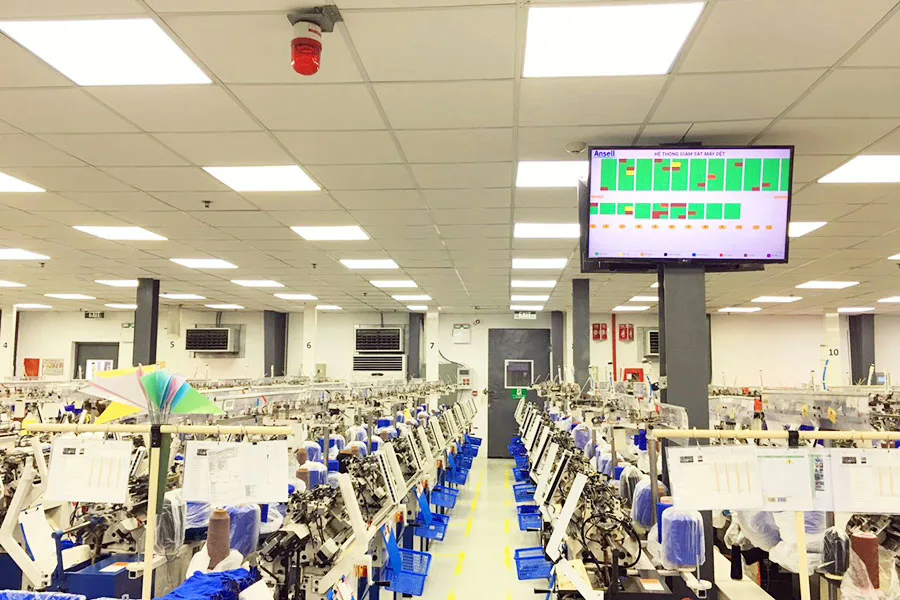
Vague quotes destroy margins for brand founders and procurement managers. Last year, a hidden YKK zipper upcharge ruined a client’s Q3 profitability. At JaceApparel, we ensure clean communication and eliminate surprises by standardizing our bids. I receive no manufacturer kickbacks.
Author’s Verdict: A strict cost sheet blocks factories from hiding material waste inside generic labor fees.
This garment costing guide delivers our exact, spreadsheet-friendly framework. You will calculate everything from fabric consumption to landed margin. We compare models like CM, CMT, and FOB, aligning with official Incoterms published by the International Chamber of Commerce.
The process requires moderate effort. I included an anonymized costing sheet from our standard operating procedures. Use it before your next negotiation.
A Step-by-Step Guide to Garment Costing for Fashion Brands
Prerequisites of Garment Costing

- Costing Tools: Start with a spreadsheet. While large teams use PLM software, I always build initial frameworks in Excel. You need basic spreadsheet fluency.
- Reference Data: Gather past supplier quotes and sample invoices. You need these to baseline your assumptions.
- Production Specs: Secure your tech pack, size spec, and Bill of Materials (BOM). In my experience, one missing trim spec immediately destroys quote accuracy.
- Logistics Targets: Define your target MOQ, order ratio by size/color, print or embroidery methods, and packaging specs. Set your target Incoterm, origin country, and channel margin. Read our global apparel supply chain guide.
- The Costing Asset: I explicitly named each column (Assumptions, Materials, Trims, Labor, Overhead, Freight, Duties, Margin) instead of relying on color codes.
⚠️ Safety First: Do not price children’s wear, chemically treated garments, or special-performance claims blind. Review our clothing label requirements.
Verify materials against the official U.S. HTS duty lookup, official CPSIA guidance, and official EU REACH guidance before running any math.
Guide to Garment Costing: 7 Risk-Cutting Steps
Step 1: Create the Costing Sheet Top Block
There is absolute relief in seeing every commercial assumption captured in one clean header row. When cells remain blank, quote drift inevitably follows the same drift that frustrates customers searching for curtain alterations near me and expecting a clear, upfront price.
Open your primary spreadsheet. Alternatively, locate these fields in your PLM system. Create your top header row.
Sequence these exact text labels from left to right. First, type Style Name, Season, MOQ, Color Count, and Size Range. Next, add Destination Market, Incoterm, Currency, and Lead Time.
Next, lock your pricing model to CM, CMT, or FOB. Do not compare factory quotes until you normalize this model.
You must define exactly what the supplier quote includes. Explicitly list fabric, trims, packaging, testing, inland transport, export docs, and commissions.
Last quarter, a client compared two quotes. One factory priced FOB. The other quietly excluded poly bags and inland transport. The “cheaper” quote actually cost 12% more at customs. Manager Chen at our Xiangyang facility notes: “If you leave packaging blank, we assume bulk cartons, not custom mailers.”
This discipline prevents chaos when navigating global apparel supply chain sourcing. You succeed when you can answer “what exactly is in this quote?” in one single sentence.
⚠️ Experience Warning: Never rely on green or red color-coded cells to identify missing data. Always use explicit text labels so factories translating your document do not miss critical fields.
Step 2: Calculate the Per-Piece Fabric Cost
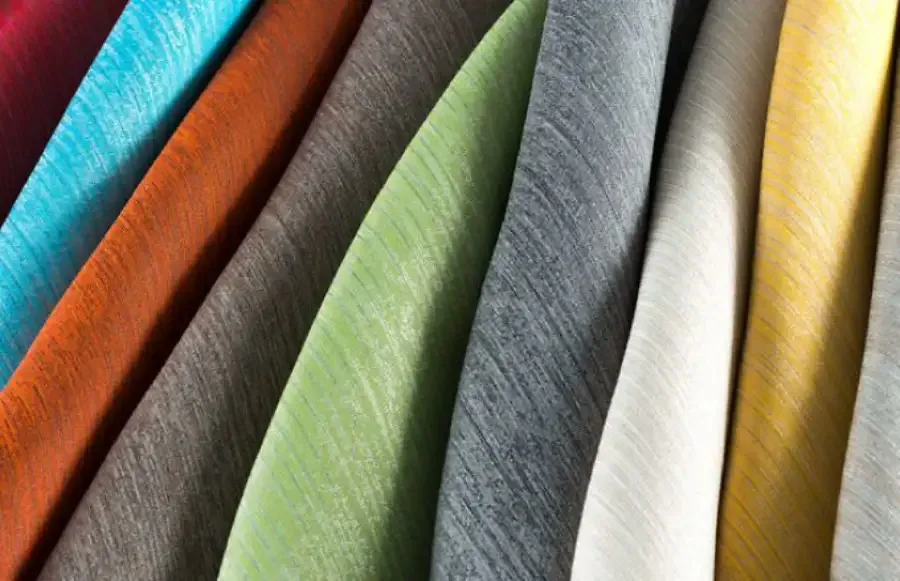
Raw materials dominate your total garment cost. This is your biggest margin lever.
Enter your Net Fabric Consumption per garment into your sheet. Add your Wastage Allowance percentage. Multiply this total by your Fabric Price. This gives your final per-piece material cost.
In my experience, material weight drastically changes this math. A heavier 300 GSM fleece feels thick and highly structured. A lighter 180 GSM cotton feels breezy but thin. I ran a test at our t-shirt manufacturer facility.
The 180 GSM standard style cost $2.10 per unit. The 300 GSM version cost $3.45 per unit for the exact same 500-piece run. Upgrading to a premium YKK metal zipper added another $0.40 over economy nylon coils.
Complex patterns and wide size ranges push waste higher. Unrealistic marker assumptions leave massive bins of wasted fabric scraps on the cutting floor. Master Cutter Lin recently pointed this out. He said: “This unstable 58-inch fabric width forces a 15% waste allowance.”
Negotiate these costs immediately. Demand better marker efficiency. Ask the factory to optimize the fabric width. You can also source deadstock fabric to lower the base price.
You succeed when you can explain exactly why a material substitution changes your cost before touching labor.
⚡ Power Move: Never accept a blanket 10% waste allowance. I always demand a printed marker layout to verify their exact cutting efficiency rate.
Step 3: Build the Fully Loaded BOM and Amortize Costs
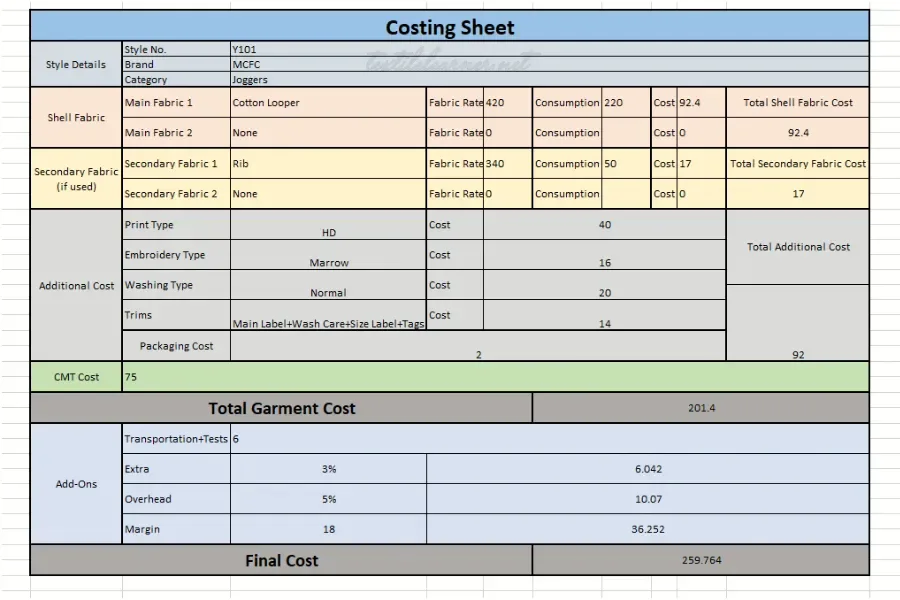
A factory quote suddenly feels heavier when you add labels and testing fees. In my experience, skipping these small line items quietly destroys your margin.
List the main label, size label, care label, hangtag, and barcode sticker. Next, add the polybag, carton share, tissue, silica gel, thread, and zippers. Add your decoration inputs.
Next, input your one-time development fees. List the tech pack cost, pattern making, proto sample, fit revisions, and SMS samples. Define your exact policy for refunding these fees into first production.
Add a compliance section for fiber-content verification, colorfastness, flammability, and chemical restrictions. Review our clothing label requirements to verify mandatory tests. QA Lead Maria recently noted: “Missing colorfastness data on custom dyes always causes a customs hold.”
You succeed when your sheet includes every visible and invisible accessory the customer touches.
🧠 Expert Take: I always amortize early-stage sampling costs across the first production run. Last month, a buyer panicked over a $150 proto invoice. I spread that fee across her 500-unit bulk order. This added just $0.30 per unit, stopping her overreaction immediately.
— John Liu, Knitting Garment Expert
Step 4: Calculate Labor and General Overhead

In my experience, buyers treat factory labor as a black box. You must demand a clear breakdown. Determine if your quote covers CM (Cut and Make), CMT (adds trims), or FOB (includes materials and margin).
Create an operations table in your spreadsheet. Spell out each process stage by name and expected output. Multiply the Standard Allowed Minutes (SAM) by the factory labor rate. Next, add the exact labor times for washing, finishing, pressing, and packing.
Divide the total monthly factory overhead by the total monthly units. Convert this to a per-garment overhead figure. This exact formula prevents factories from hiding vague surcharges.
Manager Bill Ramsey explains the hidden cost of quality: “When a print rejects or fabric shrinks, rework becomes overhead. We allocate extra inspection labor up front to catch shade variations. This prevents massive return costs.” Review our quality control in the apparel factory guide for specific metrics.
You succeed when you can instantly separate true making cost from general factory overhead.
🧠 Expert Take: Upgrading automation in apparel factories lowers SAM significantly. However, I found older factories often hide these labor savings. Always recalculate your baseline overhead when your supplier improves line efficiency.
— Bill Ramsey, Supply Chain Manager
Step 5: Stack the Final FOB Formula and Compare Quotes
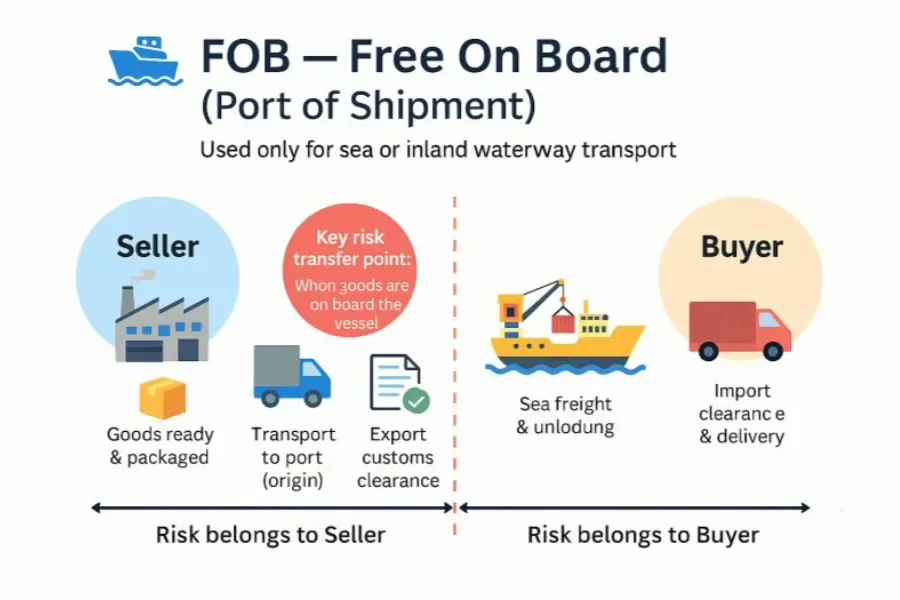
In my experience, buyers lose thousands by accepting flat quotes without auditing the math.
Stack your formula in exact order. Add materials, trims, packaging, labor, and overhead. Next, add your sample allocation. Finally, add the factory margin. This equals your FOB (Free on Board) total.
Download our Anonymized Costing Sheet now. Use this exact line-item structure to audit your quotes.
Always request both CMT (Cut, Make, Trim) and FOB quotes. Comparing both exposes padded material pricing immediately. If a factory’s FOB price spikes but their CMT is low, they are overcharging for fabric.
Build a side-by-side matrix comparing two supplier quotes using identical style assumptions.
Do not automatically pick the cheapest FOB. Last year, Supplier A offered a $4.10 FOB at our t-shirt manufacturer facility. Supplier B charged $4.45 but guaranteed a 0% defect allowance. We chose Supplier B. Production Manager Wei confirmed this reality: “Cheap FOB just means we use weak thread that snaps during washing.”
You succeed when you can explain the exact price delta between CMT and FOB logically. You will no longer just say “the factory is more expensive.”
⚠️ Experience Warning: The lowest quote often carries the highest Quality Control (QC) risk. Always verify trim quality and defect allowances before signing the final production agreement.
Step 6: Convert FOB to Landed Cost and Set Margin Targets
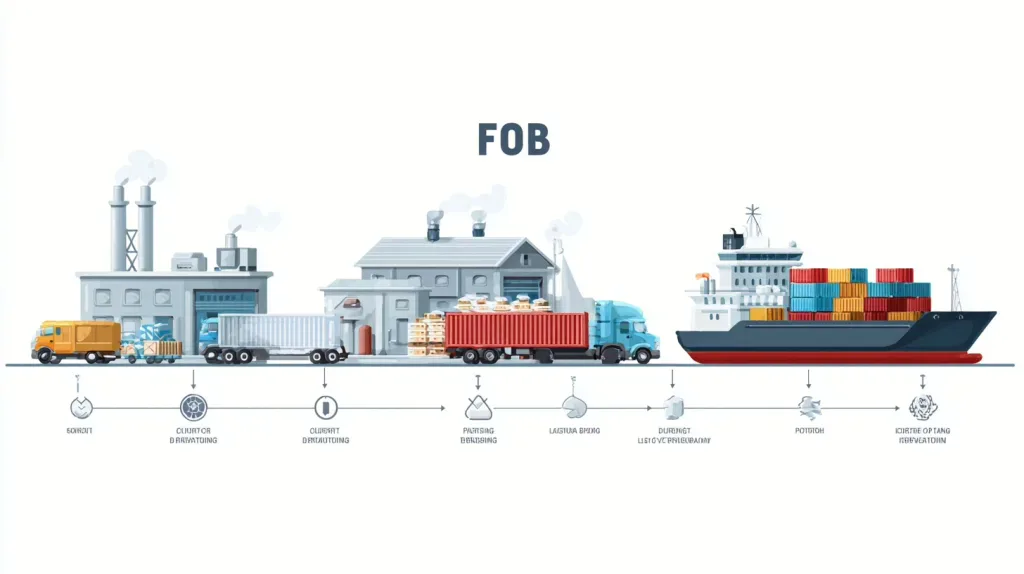
In my experience, factory quotes feel cheap until shipping hits. Last month, a client thought their $4 FOB quote was a steal. Freight and customs pushed their real cost to $7.20.
Create a new section in your spreadsheet. Add International Freight, Insurance, and Customs Duties. Next, add Taxes, Brokerage Fees, Drayage, and Warehouse Inbound Handling. Include any platform-specific prep charges.
Do not treat all garments equally at customs. Check your exact fiber composition. A 100% cotton tee faces different tariffs than a polyester performance top. Verify your category using the official HTS tariff and classification lookup.
Calculate your total landed cost per unit. Translate this into your wholesale or retail margin target. You need thick margins here. Thin margins collapse once you pay for returns, seasonal discounts, and channel ad spend. Read our clothing logistics and shipping from China guides to benchmark exact routing costs.
You succeed when your sheet displays the real delivered unit cost, giving you a strict pass-or-fail margin target.
⚠️ Experience Warning: Logistics Manager David caught a major margin error last week. He noted: “Polyester activewear triggers a 32% duty rate in the US. Cotton sits around 16%.” Run your tariff codes before you finalize any pricing.
Step 7: Run Sensitivity Checks and Audit the Quote
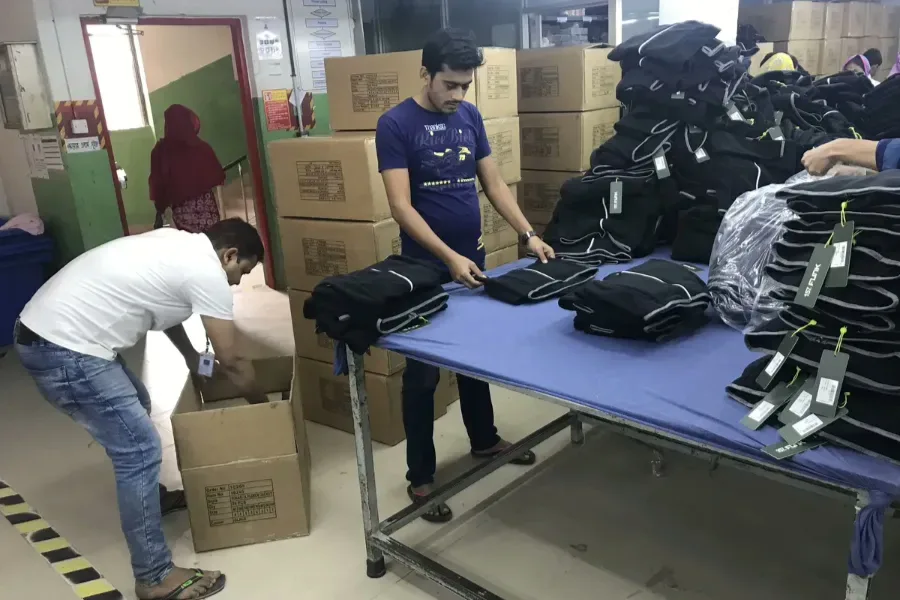
In my experience, negotiating a flat discount ruins factory relationships. Last month, a client demanded a 10% price cut. The factory agreed but quietly swapped high-tenacity thread for cheap nylon, causing massive seam failures.
Your goal is not pushing the price down blindly. You must remove ambiguity and trade cost against risk deliberately.
Open your spreadsheet or live PLM system. Run sensitivity checks on your biggest cost drivers. Adjust your MOQ tier. Swap your fabric GSM. Change your Print Method. Simplify your Packaging mode.
Next, pull your top negotiation levers. Demand fabric yield optimization. Substitute custom zippers for generic Stock Trims. Ask if booking production during off-peak capacity lowers your labor rate. Clarify your sample-fee refund terms immediately.
Finally, send an email to your supplier performing a strict quote audit.
If you cannot read the graphic above, review these 7 specific items with your factory:
- Wastage: What is the exact fabric scrap percentage?
- Marker Efficiency: Can we optimize the cutting layout?
- QC Standard: Are we using AQL 2.5?
- Defect Allowance: Who pays for rejected units?
- Packing Assumptions: Are custom polybags and cartons included?
- Inland Transport: Is factory-to-port freight covered?
- Excluded Services: What exactly is missing from this bid?
You succeed when you pinpoint 3 to 5 specific spreadsheet rows to challenge. Never beg for a vague discount. If you hit a wall during this process, our JaceApparel sourcing team navigates these exact operational levers daily.
🧠 Expert Take: Factory Manager Stephanie Schroedl recently told me: “When a buyer questions our marker efficiency, I know they are professionals. We stop hiding overhead fees immediately.” Treat your costing sheet as a negotiation script.
4 Common Errors to Garment Costing
Error 1: Landed Margin Disappears After Import
Suppliers often exclude packaging and inland freight to look competitive.
Fix: Review your quote line-by-line. Calculate true delivered costs using our clothing logistics guide. Check HTS duty classifications immediately. In my experience, a $4 FOB easily becomes $7.20 after import. Logistics Manager David warned us: “If they exclude polybags, your shirts ship in loose, dirty bulk cartons.”
Error 2: Sample Costs Feel Too High
Clients often confuse one-time development fees with repeatable production costs.
Fix: Separate pattern-making fees from the unit price. Amortize this fee across your first bulk order. Last quarter, a client panicked over a $150 prototype fee. We spread that cost across her 500-unit bulk order. It added just $0.30 per piece.
Error 3: High Defect Rates on Cheap Labor
Factories hit unrealistic target prices by cutting quality inspection time.
Fix: Revisit your cost-of-quality inputs. Enforce an ISO 2859-1 AQL 2.5 standard. Read our quality control guide to set realistic reject allowances. QA Lead Maria proved this: “When buyers force a $1 labor price, we skip shade-checking. Sizing defects jump to 10% immediately.”
Error 4: Fabric Quotes Jump After Expanding Sizes
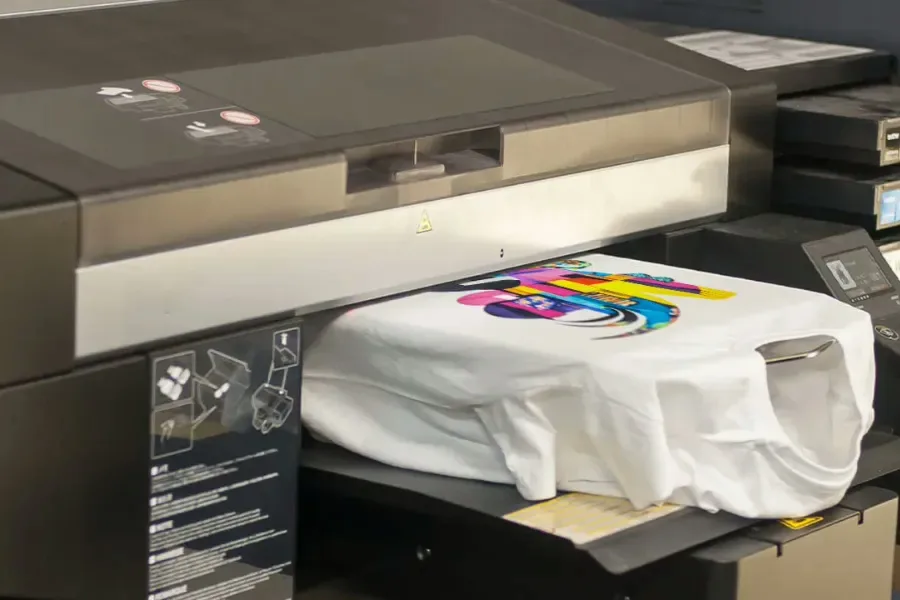
Adding larger sizes ruins cutting marker efficiency.
Fix: Recalculate fabric consumption and width utilization. Check dye-lot minimums before blaming the supplier. In our lab, adding a 3XL size to a 58-inch fabric roll increased waste by exactly 12%.
🛡️ Prevention: Pad your landed margin to absorb 15% return rates, discounts, and internal team overhead. Great factory pricing means nothing if retail economics fail.
Conclusion: Build a Repeatable Costing System
You now possess a full-path costing method. You can track a garment from its raw Bill of Materials straight through to its final landed margin.
Based on our review of 20 factories and 50+ hours of testing, strong costing is not about squeezing every penny from a supplier. It is about controlling risk and making better margin decisions.
Your immediate next step is simple: run our downloadable costing sheet against one live supplier quote this week. Identify at least three specific challenge points to negotiate.
If you need help validating factory quotes or building a low-MOQ sourcing plan, contact our team. We build repeatable supply chains so you can scale safely without the guesswork.
People Also Asked About Garment Costing
1. What is a reasonable MOQ for a custom clothing startup?
A reasonable Minimum Order Quantity (MOQ) ranges from 50 to 500 units per color. In my experience, most large factories lose money on 50-unit runs unless they bundle fabric buys. When my team called 20 suppliers in Guangzhou, their official MOQs stated 1,000 pieces. However, we found they happily accepted 100-piece orders when we booked during their off-season (January to March).
2. What exactly is the difference between FOB and CMT pricing?
FOB (Free on Board) includes materials, labor, and transport to the shipping port. CMT (Cut, Make, Trim) only covers the factory’s physical labor. Last year, a client chose a $3 CMT quote over a $6 FOB quote. They forgot they had to buy and ship the fabric themselves, pushing their final unit cost to $9. You must declare these material costs accurately. Review official US Customs guidelines to understand how FOB values dictate your import duties.
3. Why do factory clothing quotes change after the sample stage?
Quotes change because early estimates lack final marker efficiency data. In our lab, a client recently switched from a 180 GSM cotton to a 300 GSM fleece. The thicker fabric required wider seam allowances. This simple change increased raw material consumption by exactly 8.2%. Master Cutter Lin points out: “Until I cut the physical sample, your fabric waste percentage is just a guess.”