A hoodie order moves through eight stages: tech pack, pattern, fabric inspection, cutting, sewing, decoration, finishing and QC, and packing. At JaceApparel, sampling takes 7–10 working days and bulk production 7–15. The minimum is 100 pieces per colour, and every order is sampled and inspected to AQL 2.5 before it ships.
This guide follows the order through each stage and names what you approve, what the factory measures, and where the process usually fails. It is written for the buyer signing off the sample, not a design tutorial.
The eight stages at a glance
| Stage | What you approve | What the factory controls |
|---|---|---|
| 1. Tech pack | Spec sheet, bill of materials, artwork placement | Pattern file, grade rules |
| 2. Pattern | Fit sample, size-set measurements | Block, grading, marker |
| 3. Fabric | Swatch, GSM, shrinkage tolerance | 4-point inspection, relaxation |
| 4. Cutting | Marker efficiency, panel count | Spreading, CNC cutting, notching, bundling |
| 5. Sewing | Seam types, stitch density, approved sample | Machine set-up, seam sequence |
| 6. Decoration | Artwork, Pantone, placement and print size | Screen or embroidery file, print proof |
| 7. Finishing and QC | AQL level, points-of-measure tolerance | Pressing, measurement, inspection |
| 8. Packing | Fold, label position, polybag, carton count | Barcode, weight check, carton verification |
What are the parts of a hoodie called?
Every stage below acts on one of these parts. The names matter because these are the terms that appear in a tech pack, on a marker and on the sewing line.
| Part | What it does | Term in the tech pack |
|---|---|---|
| Hood | Covers the head and sets the neckline shape | Hood panels, optional lining panel |
| Drawcord and eyelets | Close the hood opening | Cord, eyelet or grommet, cord channel |
| Neckline join | Attaches the hood to the body | Neck seam, sometimes taped |
| Front and back body | Make the main garment | Front, back |
| Sleeves | Cover the arms and carry the shoulder fit | Sleeve, armhole or armscye |
| Kangaroo pocket | One pouch across the lower front of a pullover | Pouch, kangaroo pouch |
| Rib cuffs | Close each sleeve end and hold it in place | Cuff, rib |
| Rib hem band | Closes the bottom edge and holds the body shape | Hem band, waistband |
A zip-up adds a zipper, a facing along each front edge and two side pockets instead of the single pouch. This guide stays with the pullover.
Step 1: Tech pack and design approval
The tech pack is the production document, not the mood board. A usable hoodie tech pack carries:
- a technical flat, front and back;
- points of measure (POM) with tolerances;
- construction and seam types;
- fabric composition and GSM;
- trims: drawcord, eyelets, zipper, rib;
- artwork file, Pantone reference, placement and print size;
- label and hangtag positions;
- size range and colourways.
Approve the spec sheet and bill of materials before a pattern is cut. If a POM or a trim is missing, the sample may still look right and fail at grading or bulk.
Step 2: Pattern making and grading
Pattern making turns the flat drawing into graded pieces. The pattern maker builds a base block in the middle size, then grades up and down. For a hoodie, check the grade on the chest, body length, sleeve length and hood opening. Grading only the chest is a common shortcut: the sample fits, then the bulk run drifts at the ends of the size range.
The output is a DXF file and a size set. Ask for the size-set measurements, not just the sample. Those numbers are what the factory will cut against.
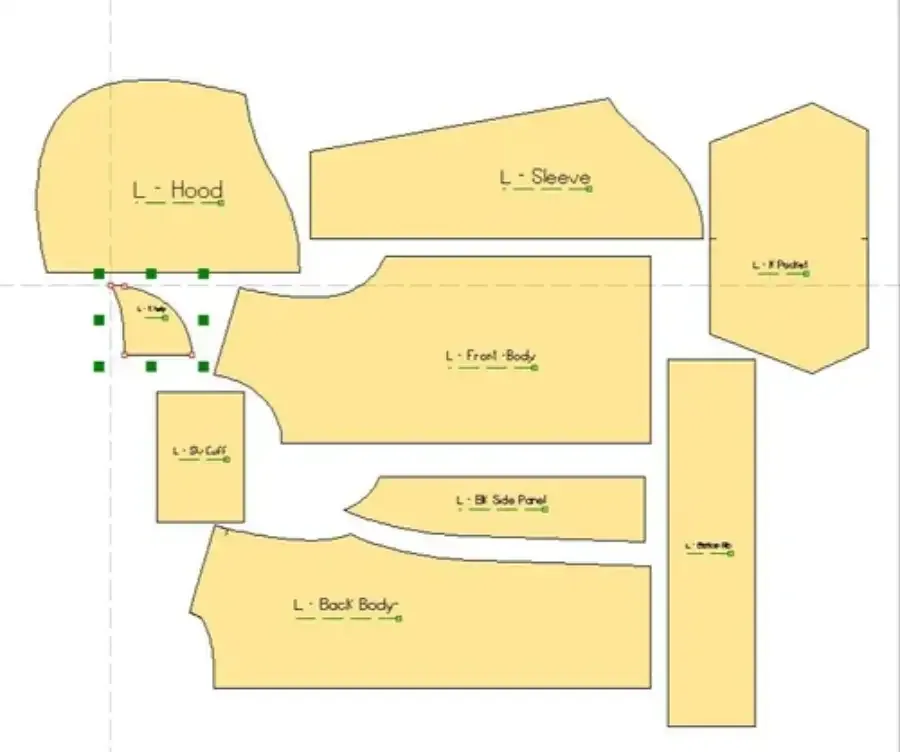
CAD pattern pieces for a size set, laid out for the marker.
Step 3: Fabric inspection and relaxation
Knitted fabric arrives on a roll under tension and can hide defects in its loops. Three things matter before cutting.
Fabric inspection. The 4-point system assigns penalty points by defect length. A roll over the agreed score is rejected or downgraded. Ask which system sits behind the inspection and what score triggers a reject.
Shrinkage. A marked square is washed and dried under a stated method, and the change is measured in both directions. AATCC 135 is the common reference for dimensional change after home laundering. State the shrinkage tolerance in the tech pack; do not accept a figure quoted without a method behind it.
Relaxation. Let the roll relax before spreading. Fabric held under tension on the roll is not ready to cut.
Step 4: Marker, spreading and cutting
Cutting starts with a marker: the layout of pattern pieces on the fabric. A tight marker raises fabric yield; a copied marker wastes cloth when the fabric width or the size range changes.
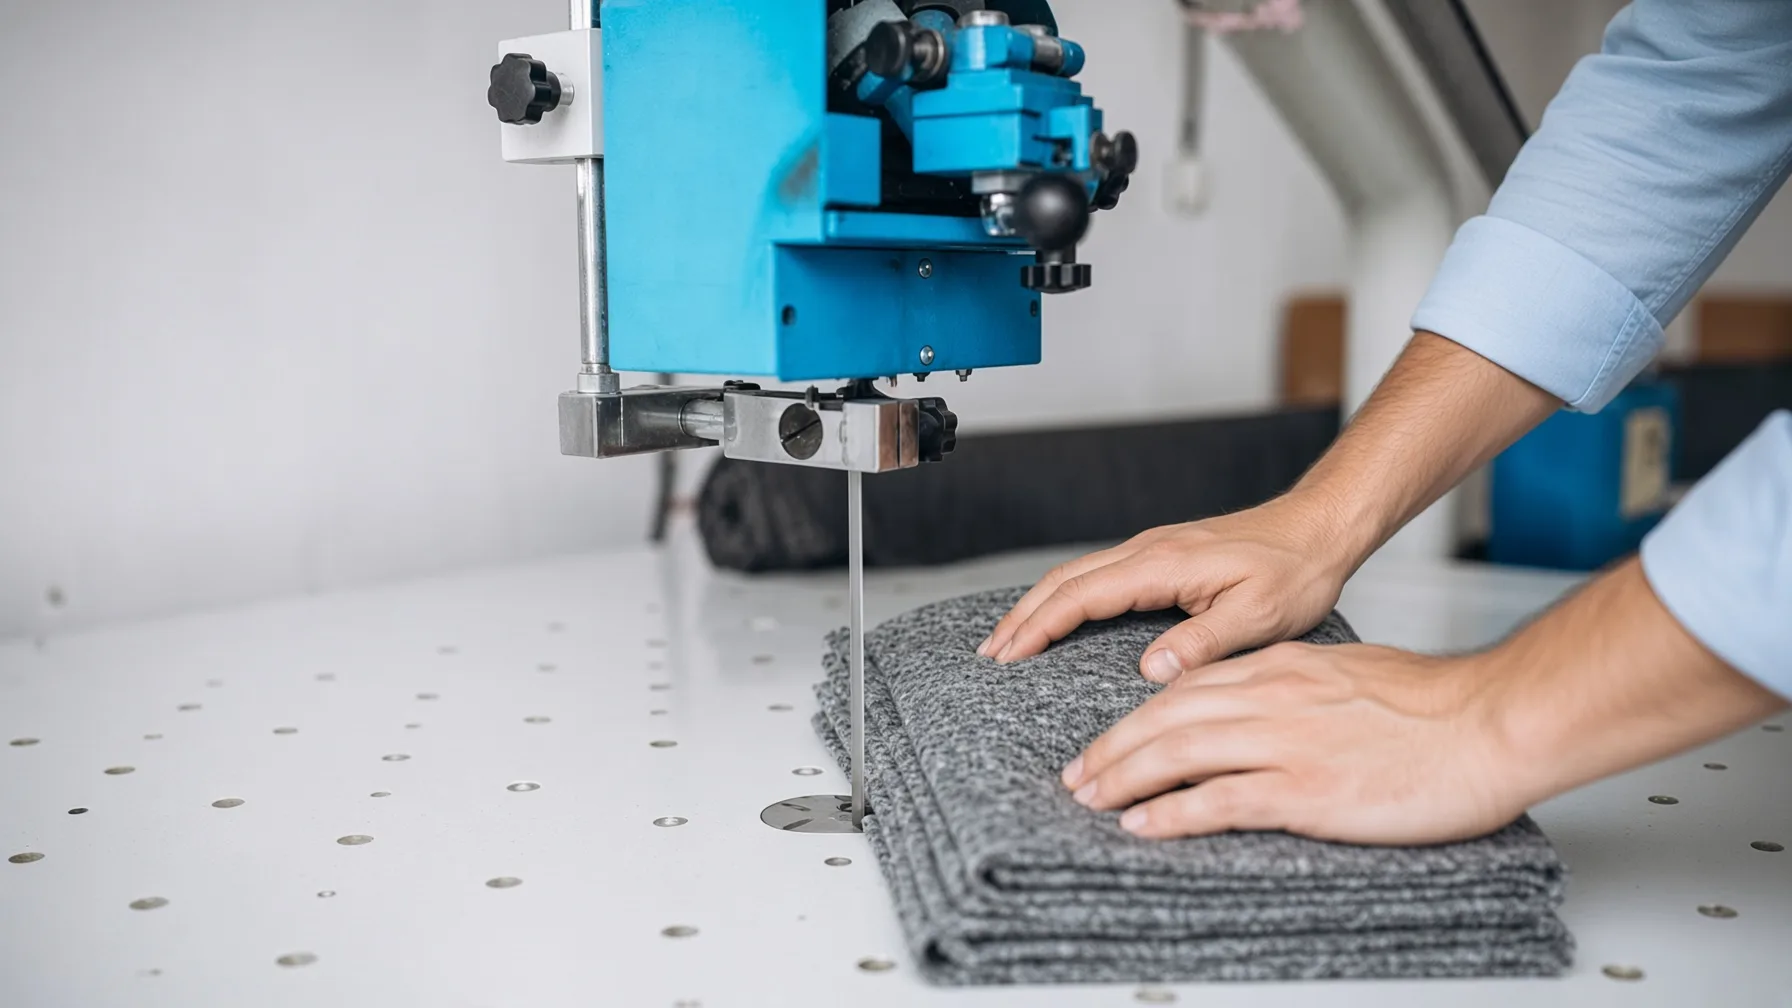
The fabric is spread in layers (plies) at zero tension, then cut by CNC machine or band knife. Notches and drill holes mark where the sleeve, pocket and hood meet the body. Every bundle is labelled by size and colour before it reaches sewing.
If the fabric is spread under tension, the panels relax after cutting and finish small. This is one of the most common causes of a bulk run that measures differently from the approved sample.
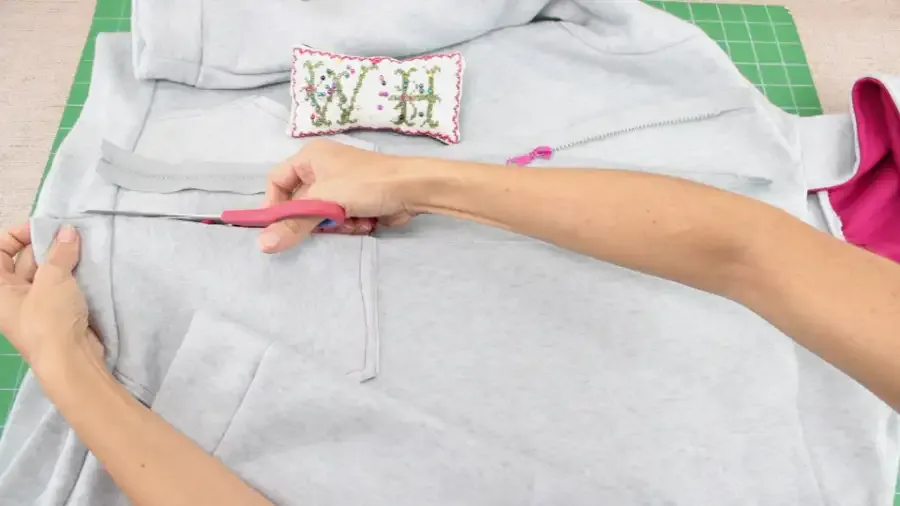
Hand-cutting a sample. Bulk orders are machine-cut from a marker.
Step 5: Sewing
A pullover follows a fixed order because each join is easier while the garment is still flat:
- The hood is assembled first — panels, lining if specified, eyelets and cord channel.
- The kangaroo pocket goes on the front panel while it is flat.
- Shoulders and neckline follow; the hood joins the body at the neck.
- Sleeves are set in while the sides are open.
- Side and sleeve seams close in one run.
- Rib cuffs and hem go on last, stretched to fit so they recover and grip.
Specify the seam type at each join, the stitch density (stitches per inch), the thread and the needle. A spec that says only “sew” leaves the choice to the line.
| Seam | Where it is used | What it does |
|---|---|---|
| Overlock (4-thread) | Side seams, sleeve seams, armhole | Joins and finishes a stretch seam in one pass |
| Coverstitch | Hem, cuff, sleeve opening | Stretches with the fabric and covers the raw edge |
| Flatlock | Performance and sport hoodies | Flat, low-bulk seam with stretch |
| Bar-tack | Pouch corners, cord ends, stress points | Reinforces a point that pulls |
| Plain seam | Non-stretch joins, linings | Simple and strong, but leaves a raw edge that needs finishing |
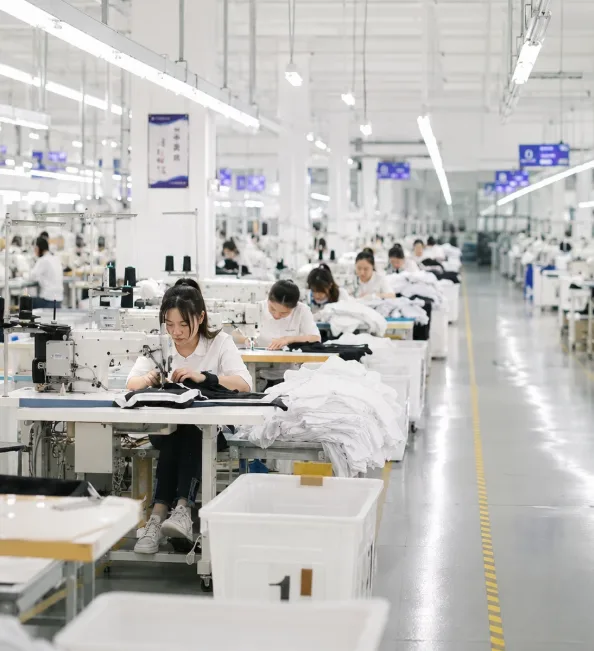
The sewing floor at JaceApparel.
Step 6: Decoration
Decoration can happen before or after sewing. Printing on flat panels lets a graphic cross a seam and run edge to edge. Printing on the finished garment is simpler for a chest logo.
JaceApparel runs screen printing in-house — plastisol, water-based, discharge, foil, puff, metallic, glow and neon inks — plus all-over sublimation and embroidery. See the screen printing page for ink systems.
The sublimation and embroidery pages cover the other two methods. The print is proofed on the production cloth before the run, not on a stock swatch.
Specify the artwork file, Pantone reference, placement, print size and wash standard. A logo placed over a seam or the pouch edge will not sit like the mock-up. For embroidery, keep the design under about 4 inches on a lightweight hoodie; dense stitching can pucker thin fabric.
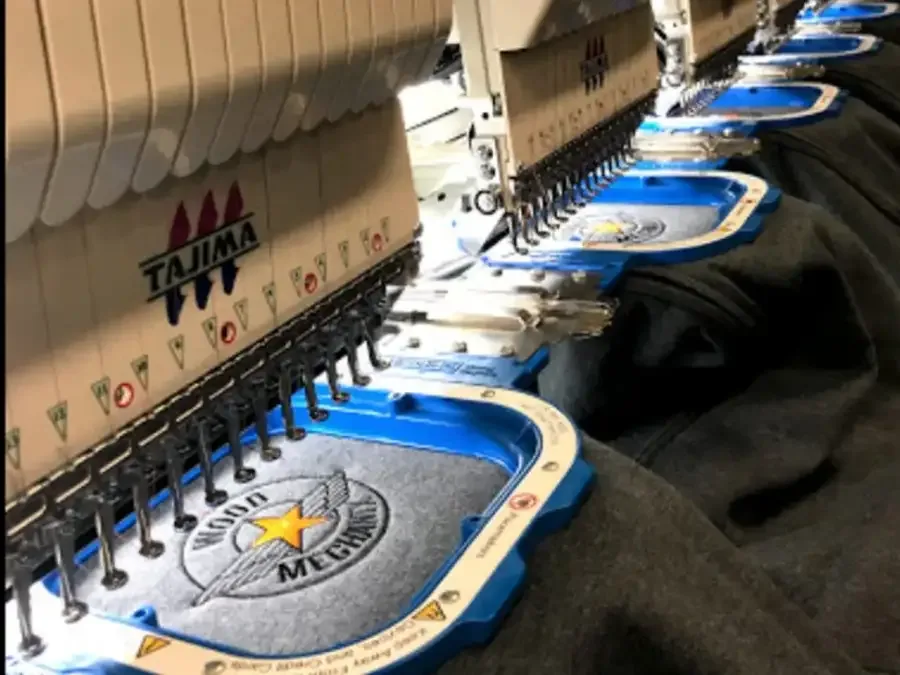
A multi-head embroidery machine. The stitch file is digitised from the artwork before the run.
Step 7: Finishing and quality control
Finishing is where the garment becomes the approved sample. Thread tails are trimmed, the hoodie is pressed with steam, and the measurements are checked against the POM.
A final inspection should check:
- Symmetry. Fold the garment and compare the shoulders and side seams.
- Hardware. Pull-test drawcords and eyelets.
- Needle contamination. Ask whether every sealed polybag passes a needle detector.
- Workmanship. Seam puckering, skipped stitches, open seams and off-grain panels.
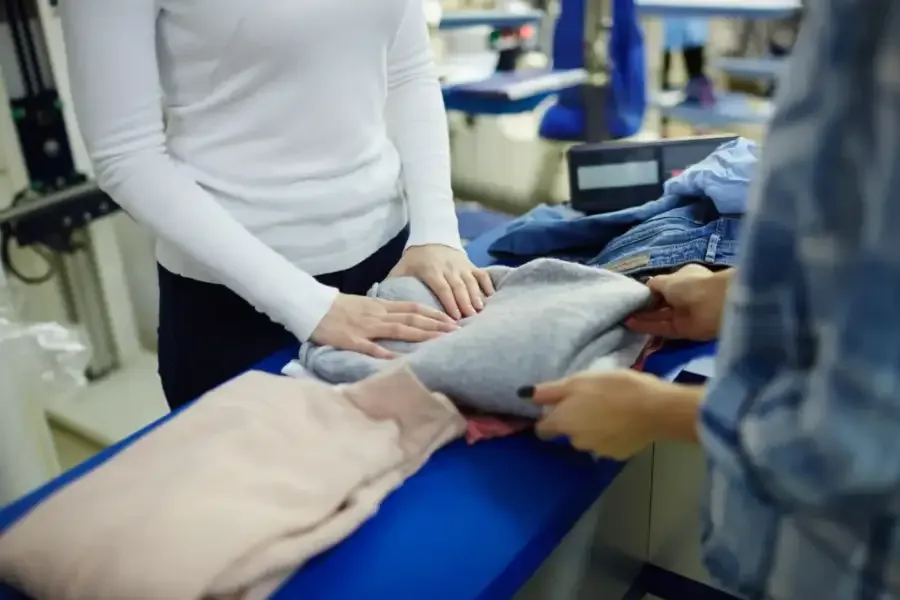
Final inspection at the quality-control table.
Final inspection uses an AQL sampling plan. JaceApparel works to AQL 2.5 under ISO 2859-1. Ask for the inspection level, sample size, defect classes and acceptance limits in the quote. “We check everything” is not a sampling plan.
Step 8: Packing and shipping
Packing is part of the build. The garment is folded to your method, labelled and tagged, poly-bagged and barcoded. Cartons are counted and weighed against the expected weight; a light carton is opened and recounted.
Specify the fold, label position, polybag type and carton count. JaceApparel ships DDP, DAP or DPU to most countries. Packaging options are on the clothing packaging page.
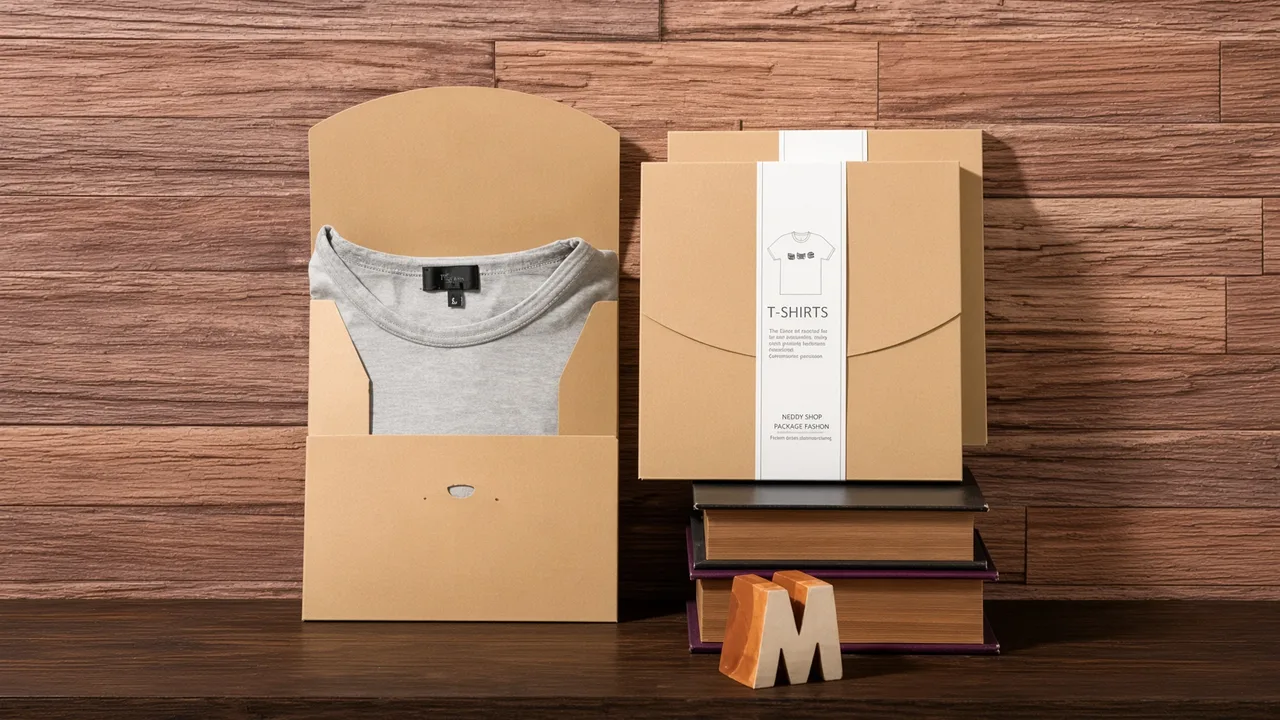
Packaging: a kraft mailer and printed sleeve.
Lead times
| Window | What it covers | JaceApparel standard |
|---|---|---|
| Sampling | Prototype, fit sample or size set | 7–10 working days |
| Bulk production | Cutting, sewing, decoration, finishing and QC | 7–15 working days |
| Air freight | Transit to destination | 5–7 days |
| Sea freight | Transit to destination | 30–45 days |
Sampling and bulk run in sequence, with your approval between them. Freight figures are transit times; customs clearance and destination handling sit outside them.
What drives the cost?
| Driver | Why it moves the price | How to control it |
|---|---|---|
| Fabric | GSM, composition, dye lot and certification | Fix GSM and composition before quoting |
| Construction | Stitch count, seam type, trims and hood lining | Simplify seams where the design allows; keep trims in the bill of materials |
| Decoration | Number of colours, placements and embroidery stitch count | Reduce colours or placements; combine artwork |
| Order size | Set-up cost is spread across the run; small runs carry more per piece | Consolidate colourways; commit to a size curve |
| Packaging | Custom box, label, hangtag and polybag | Standardise the pack; print labels in one run |
| Freight | Mode, volume and destination | Book by the delivery date; compare air and sea |
Where does hoodie production go wrong?
| Failure | What you see | Prevention |
|---|---|---|
| Shrinkage | Garment shortens after the first wash | Test the bulk fabric before cutting; state the shrinkage tolerance |
| Colour deviation | Panels from different rolls do not match | One dye lot per colour; approve a lab dip |
| Twisting | Side seams spiral after washing | Check grainline and marker; inspect off-grain panels |
| Puckered seams | Wrinkles along a seam | Correct thread tension, needle and feed; test on the actual fabric |
| Uneven rib | Cuff or hem bunches on one side | Mark equal sections; stretch the rib evenly |
| Print cracking | Ink cracks at the edges | Correct cure; wash-test the print; choose the ink for the fabric |
| Needle marks | Small holes along seams | Correct needle size and point; replace needles on schedule |
How does JaceApparel run a hoodie order?
JaceApparel has made cut-and-sew apparel since 2015, with pattern, sampling, cutting, sewing and finishing under one roof. The factory stocks eight working cloths — cotton, cotton-poly blend, polyester, fleece, French terry, organic cotton, recycled polyester and heather — matched to your target GSM. The current certification set is confirmed on the quote.
See the hoodie manufacturer page for current capability and the case studies for recent runs.
How this guide was produced. This guide was written by Yuying Zhu, who has worked in apparel production and sourcing for 16+ years. The production figures come from JaceApparel’s current production terms, not industry averages. External test methods and the certification standard are listed in the Sources section.
Send your tech pack, reference garment or sketch with the quantity, size range, destination and target date, and we will quote sampling and bulk separately.
Frequently Asked Questions about Hoodie Manufacturing Process
01. How long does a hoodie order take?
Sampling takes 7–10 working days, then bulk production takes 7–15 working days. Your approval sits between the two; freight is quoted separately by mode.
02. What is the minimum order?
100 pieces per colour. The minimum is counted against a colour, not a size: one colour in four sizes is still one 100-piece threshold.
03. What do I need to send to start?
Send a sketch, reference garment or tech pack, plus quantity, size range, destination and target date. If you do not have a tech pack, the factory can develop one from a reference garment.
04. What is AQL 2.5?
AQL is the acceptance quality limit used in ISO 2859-1 sampling. It sets the sample size and the maximum number of defects allowed in a lot. It is a sampling standard, not a promise of zero defects.
05. What size range can you grade?
S–3XL is standard, and 4XL–5XL can be added. The size run is whatever the tech pack specifies.
06. What certifications do you hold?
The factory holds OEKO-TEX Standard 100, BSCI and GRS, issued to the manufacturing entity. The certificate numbers and current copies come with the compliance pack at RFQ.
Sources
- AATCC test methods — dimensional change, colourfastness and wash testing.
- ISO 2859-1 — sampling procedures indexed by acceptance quality limit (AQL).
- CottonWorks — knit fabric behaviour, marker making and apparel production.
- OEKO-TEX Standard 100 — harmful-substance testing for textile materials.