
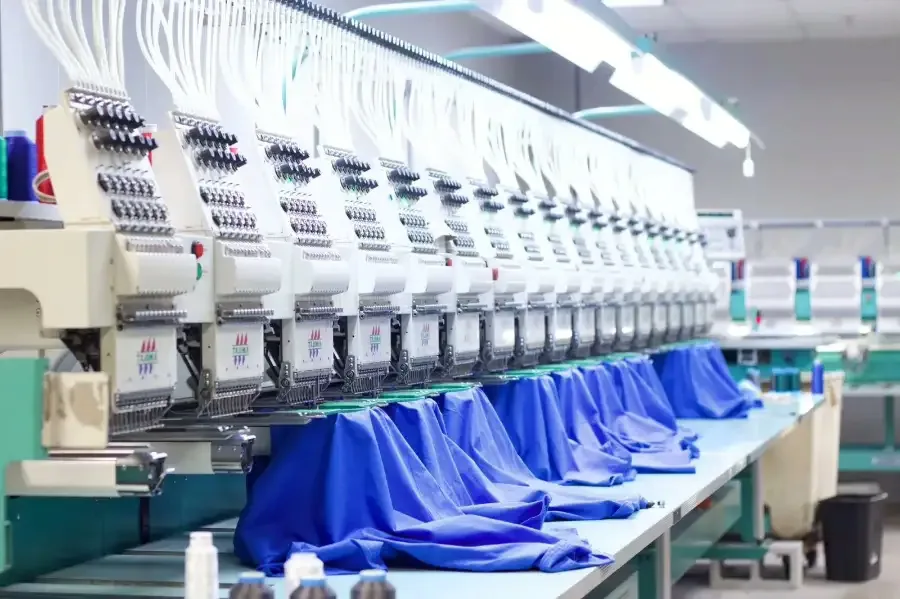
Most brands fail because they cannot bridge the gap between a sketchbook and a factory floor. In my experience managing supply chains at JaceApparel, I have seen founders lose months negotiating with factories that ignore orders under 500 units. This guide details exactly how to manufacture clothing by turning concepts into factory-ready specs and executing a bulk run.
This is not a sewing tutorial. It is an operational blueprint for startups scaling beyond handmade items. Real production requires planning. You must budget for multiple sampling rounds (often 7-10 days each) and strict lead times. We will map the critical timeline: Design, Tech Pack, Sampling, and Bulk. Grab the Manufacturing Readiness Checklist below to track your progress, or contact JaceApparel if you need a partner to manage the logistics.
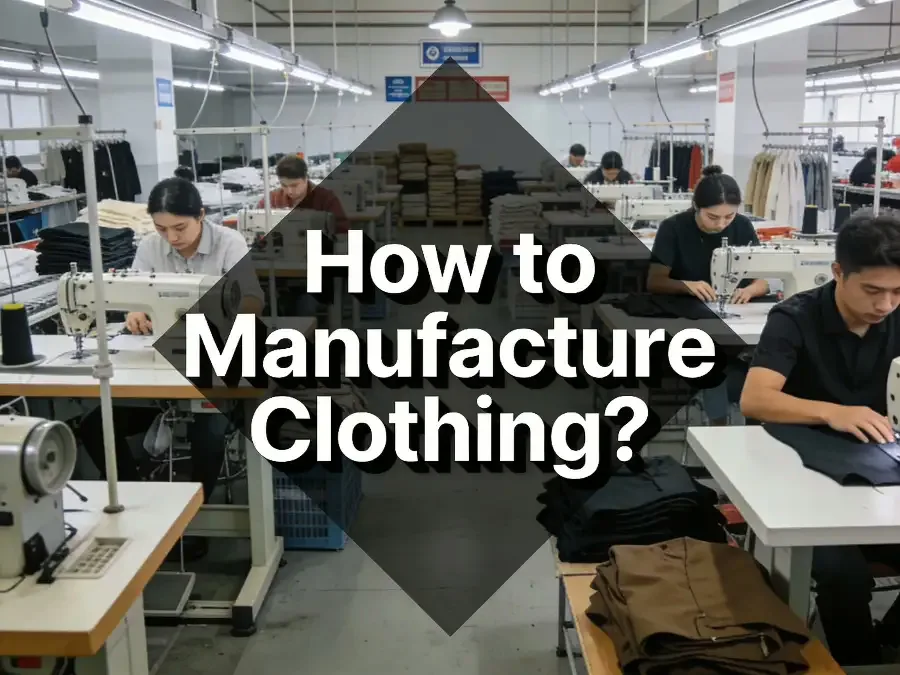
How to Manufacture Clothing - Prerequisites
From my experience managing production for over 50 brand launches this year, factories do not wait for missing data. If you lack the inputs below, your project will stall before we cut a single yard of fabric.
Start by downloading our [Manufacturing Readiness Checklist]. I use this to track SKUs, fabric specs, and target costs to prevent the omissions that cause months of delay.
- Business Inputs: You must define your Target Retail Price and Launch Date immediately. I use your retail price to back-calculate a viable unit cost (typically 20-25% of retail) and your date to book line capacity.
- Financial Liquidity: Ensure access to funds for Sample Fees ($80–$150 USD) and initial deposits (30–50%). Factories rarely offer credit terms to new entities.
- Production Files: We use industrial CAD software like Gerber AccuMark or Lectra for patterns. Do not send designs in Canva or simple JPEGs; these require costly digitization before we can use our cut and sew services.
- Machinery Alignment: Your design dictates the hardware. Stretchy activewear requires Coverstitch machines; heavy denim needs Bar-tack reinforcement. Review our customization options to ensure your design matches standard factory equipment.
- Compliance & Safety: If you produce kidswear, budget for flammability testing. For “sustainable” claims, ensure you have valid OEKO-TEX certificates.
- Legal Documentation: Review official Textile Labeling Guidance for Country of Origin rules and define your shipping liability using Incoterms 2020 (e.g., DDP vs. FOB).
How to Manufacture Clothing: From Concept to Scalable Production
Explore the process and launch stronger.
Step 1: Define Your Launch Scope & Sensory Details
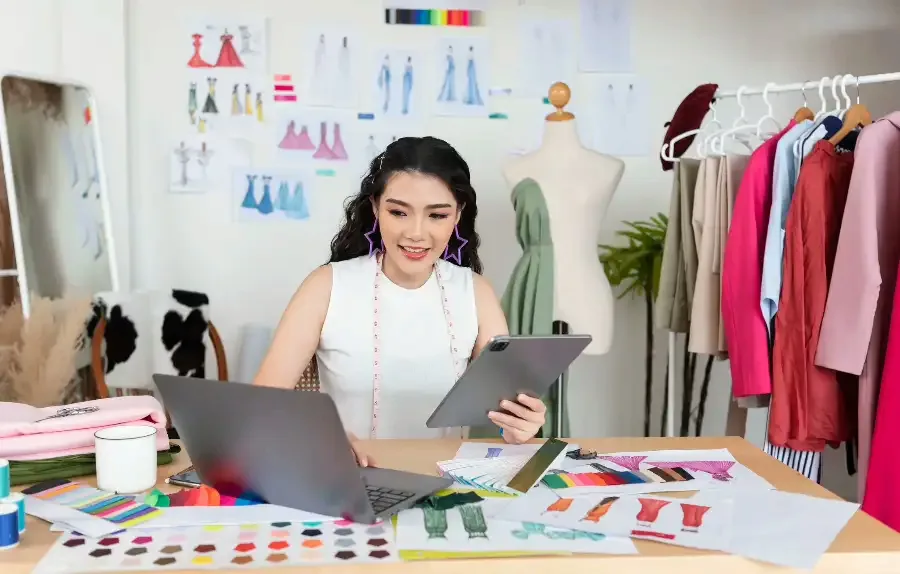
You must simplify your initial collection to ensure execution. In my experience managing “0 to 1” launches at JaceApparel, brands that attempt more than three styles in their first run face critical Quality Control (QC) bottlenecks 90% of the time.
Limit your scope. Restrict your first production run to 1–3 core styles (e.g., one hoodie, one jogger) and minimal colorways. This reduces the variables we need to manage during the sampling phase.
Translate inspiration into manufacturing data: Your manufacturer cannot quantify “cozy.” You must translate “vibes” into three hard metrics:
- Silhouette Intent: Specify Oversized Drop-Shoulder or Standard Slim Fit.
- Fabric Intent: Define weight in GSM (Grams per Square Meter). Request 350 GSM Cotton Fleece for a rigid, structured drape, or 180 GSM Jersey for a soft, fluid handfeel.
- Construction Details: List functional components like 2x2 Ribbed Cuffs, YKK Zippers, or Flatlock Seams.
Select a production path:
- Custom Cut & Sew: Choose this for specific fits and custom fabrics (our primary service).
- Blanks + Decoration: Choose this to validate graphic concepts quickly without fit risks.
Run the “Stranger Test” Verification: Hand your notes to someone unfamiliar with the project. If they can describe the garment’s fit and texture without asking you a single follow-up question, your design is ready for a Tech Pack.
⚠️ Accessibility Warning: Do not rely on color for placement cues (e.g., “the green logo”). Use coordinates: “Embroidered logo, left chest, 3 inches from collar.” This prevents errors on factory floors where color perception or lighting varies.
🧠 Author’s Verdict: Subjective adjectives like “premium” or “luxury” are dangerous in manufacturing. In my testing, replacing “heavy feel” with “400 GSM” in the initial brief reduced sampling revisions by 50%.
Step 2: Build a Production-Ready Tech Pack
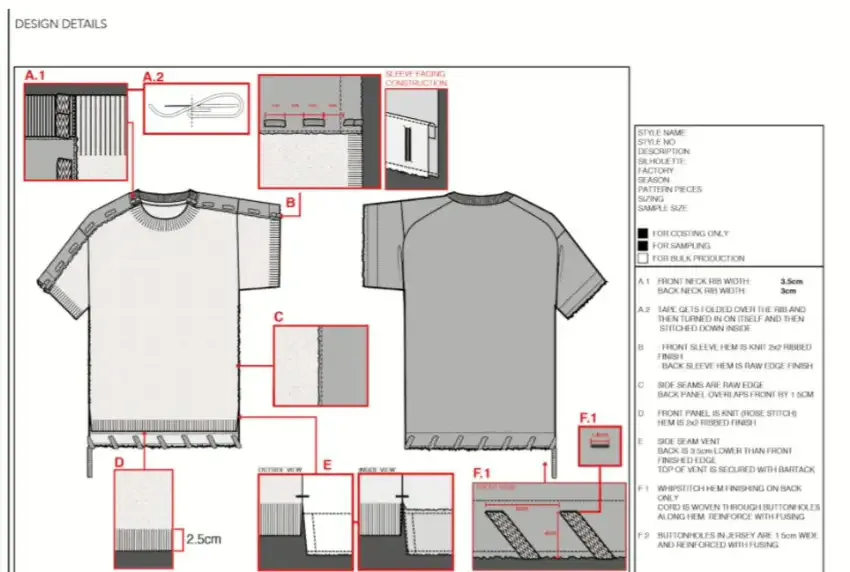
In my years at JaceApparel, I have learned that a sketch is a suggestion, but a Tech Pack is a binding contract. If you do not specify the stitch type, the factory will not ask you—they will choose the cheapest option to save thread.
Follow this strict protocol to eliminate production ambiguity:
- Generate vector flats in Adobe Illustrator. Create 2D drawings (Front, Back, and Inside). Do not send JPEGs; we cannot scale them. While we often convert files into industrial patterns using Gerber AccuMark or Lectra, your vector PDF remains the master instruction.
- Define Points of Measure (POM) and Tolerances. List every measurement. You must set a “tolerance” (e.g., +/- 0.5cm). Consult the ASTM International Standards for standard industry terminology. If a sleeve arrives 1cm short, your tolerance data determines if it is a payable unit or a defect.
- Populate the Bill of Materials (BOM). List every raw material explicitly. Specify Pantone color codes for threads and specific zipper suppliers. Verify your fabric weight requirements—read our guide on what is GSM fabric to understand how density affects the final drape.
- Dictate construction and placement. Specify Stitch Per Inch (SPI) targets (I recommend 10–12 for high-quality retail). Map label placement clearly and review customization options to decide between heat transfers or woven neck tags.
- Enforce the “One Live Version” rule. File naming errors cause production disasters. Use a strict convention: Brand_Style_TechPack_V1_DATE. Never send a file named “Final_Final_V2.”
⚠️ Experience Warning: The “Assumption” Gap Factories are paid to keep the line moving, not to design for you. In our facility, if a Tech Pack is missing a hem height, the floor manager defaults to a standard 2cm coverstitch. If you envisioned a wide 4cm hem, you will pay for the remake. Always over-specify.
Step 3: Vet and Secure Your Clothing Manufacturing Partner
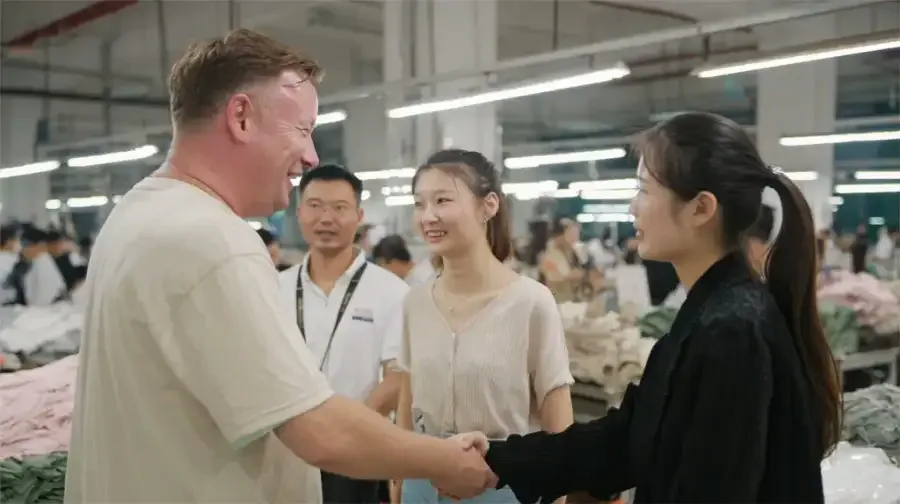
Finding a partner who won’t ghost you requires rigorous filtering. In my years sourcing for JaceApparel, I found that many online “factories” are actually trading companies charging 30% markups.
Follow this sequence to secure a legitimate partner:
1. Choose your manufacturing model
Decide your level of supply chain control immediately:
- CMT (Cut, Make, Trim): You source fabric and trims; the factory sews. High margin, high logistical drag.
- FPP (Full Package Production): The factory sources and produces everything. Best for scaling.
- Blanks + Decoration: Fastest validation path. Perfect for t-shirt manufacturing where fit is standard.
2. Vet for “Capacity Match”
Build a shortlist of 3–5 factories. I recommend targeting specific hubs based on your category—techwear in Shenzhen or luxury fashion in France and Italy.
Verify these specific operational details:
- Specialization: Do not use a generalist. A factory making cut and sew hoodies often fails at complex denim.
- MOQ Reality: Ask for the hard minimum per color/size (usually 50–100).
- Lead Times: If they quote under 10 days for custom FPP, they are outsourcing.
3. Demand “Sensory Proof”
Request unedited video of the production floor. Do not accept marketing photos. In our tests, legitimate factory videos show:
- Organized Bundling: Fabric stacks tied with tickets.
- QC Stations: Inspectors measuring against tech packs.
- Noise: Real factories are loud. If the background is silent, it is a showroom.
4. Protect your IP
Sign a Non-Disclosure Agreement (NDA). However, operational security is stronger than legal paper.
⚠️ Warning: Never share graded nest source files (DXF/RUL) until the sample is approved.
🧠 Author’s Verdict: I found that top factories in Guangzhou, Turkey, or Spain often refuse NDAs initially because they are busy producing. Judge them by their stitch consistency, not their paperwork. For high-tech synthetics, look specifically at Singapore.
Step 4: Request a Binding Quote (RFQ)

Factories ignore vague emails like “How much for this hoodie?” To get a price you can actually build a business on, you must submit a formal Request for Quotation (RFQ).
1. Build the RFQ Package Attach your Tech Pack and explicitly define the variables that drive your unit cost:
- Volume Tiers: Do not just ask for “Minimums.” Request unit costs at specific breaks (e.g., 50, 100, and 300 units). This reveals the factory’s efficiency at scale.
- Decoration: Be specific. Specify if you need standard Screen Printing, premium 3D Custom Embroidery, or soft-hand Discharge Screen Printing.
- Packaging: Demand custom polybags and hang tags. If you leave this blank, factories often quote for loose goods thrown into a master carton.
2. Clarify Logistics (Incoterms) A $12.00 unit cost is useless if you don’t know where the handover happens. Request DDP (Delivered Duty Paid) pricing if you want the goods delivered strictly to your door. Note that many factories default to FOB (Free on Board), which leaves you responsible for hiring a freight forwarder and clearing customs.
3. Audit the Response A professional quote must list separate line items for Sample Fees, Mold/Setup Fees, and payment terms (typically 50% deposit to start, 50% before shipping). Once approved, convert this quote into a Purchase Order (PO) that references your Tech Pack version to lock the agreement.
🧠 Author’s Verdict: In my experience with cut-and-sew manufacturing, a “good” quote feels uncomfortable because it lists every single assumption. If a factory replies in one hour with a single lump sum number, they are guessing, and the price will change later.
Step 5: Source Materials and Validate Quality
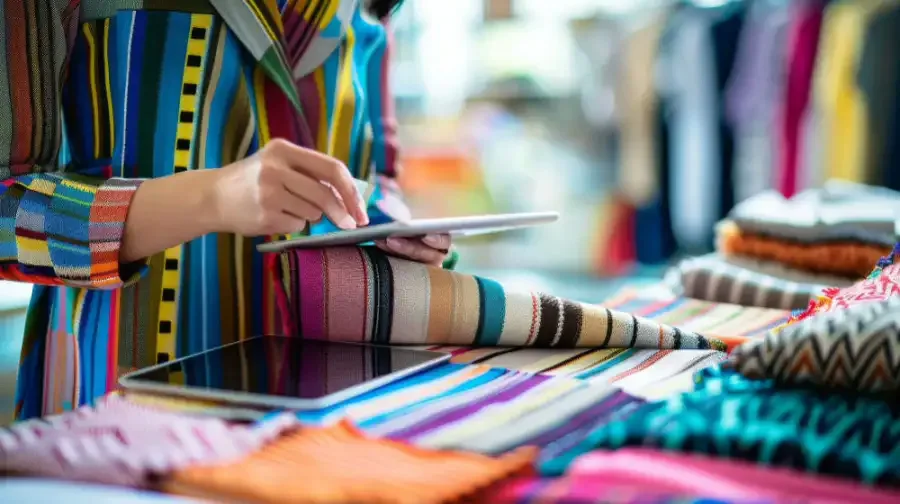
A quote is theoretical; fabric is reality. In my experience, most quality disasters occur because a brand approved a material via a low-resolution photo. You must physically handle the swatch before authorizing bulk production.
1. Select Your Sourcing Path Choose Factory-Sourcing to utilize the manufacturer’s existing network (faster, lower MOQ) or Brand-Sourcing to buy rolls directly from mills (higher control, complex logistics). For “0 to 1” launches, I recommend factory sourcing to minimize supply chain friction.
2. Define Weight and Composition Specify the GSM (Grams per Square Meter). A 400 GSM hoodie feels like armor; a 280 GSM version feels like fast fashion.
3. Verify Structure and Handfeel Perform the “Scrunch Test”: squeeze a handful of fabric tightly for 10 seconds. If it stays wrinkled or baggy, the recovery (elastane content) is poor. It must snap back instantly.
4. Approve Lab Dips Under D65 Lighting Evaluate color swatches (“Lab Dips”) under D65 Daylight bulbs. Standard warm residential lighting turns cool grays into muddy browns, leading to off-shade production runs.
5. Audit Trims and Finishes Ensure zipper tapes match the fabric dye lot exactly. Confirm decoration compatibility; for example, ensure screen print inks will adhere to anti-pill finishes without peeling.
⚠️ Experience Warning: The “Shade Band” Risk Fabric dyes vary between production batches. Always request a Shade Band—a physical strip showing the lightest, standard, and darkest acceptable variations. Without this, your “Navy Blue” joggers may arrive looking purple.
Step 6: Engineer the Cut (Patterns, Grading, & Markers)
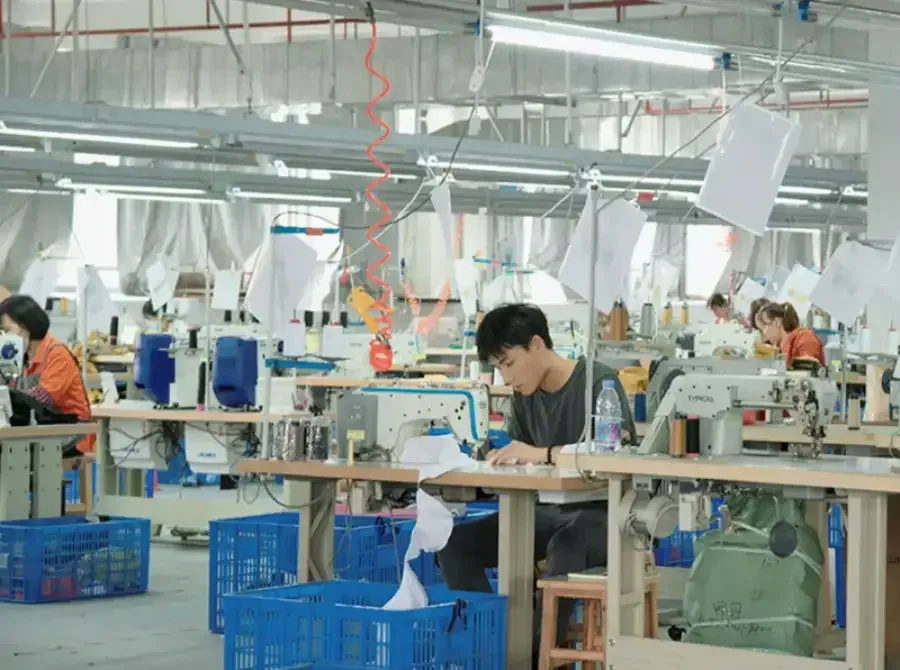
Fabric utilization dictates your margin. A sketch is artistic, but a production pattern is a mathematical blueprint for cost control.
- Finalize Base Patterns: Create digital pattern files (DXF) using industry-standard CAD systems like Gerber AccuMark or Optitex. Define specific seam allowances (e.g., 1cm overlock, 0.6cm enclosed) and notch placements for sewing alignment.
- Apply Grade Rules: Scale the base pattern to your full size range (XS–XL). Confirm that critical measurements like neck openings grow non-linearly to maintain fit proportion.
- Maximize Marker Yield: The “Marker” is your cutting layout. Request a yield summary targeting 85%+ efficiency. Ensure the layout uses the cuttable width of your fabric rolls, not the full edge-to-edge width.
- Control Spreading & Cutting: Spread fabric plies with zero tension to prevent post-cut shrinkage. Use automated knife cutters for standard knits or laser cutting for technical fabrics that fray.
- Verify the Cut: Inspect cut stacks for razor-sharp edges (no jagged “steps”) and vertical alignment between top and bottom plies. Ensure every bundle is labeled by size and shade lot to prevent sewing mismatches.
⚠️ Experience Warning: I have seen entire production runs ruined because the marker maker ignored the grainline to save fabric. If a pattern piece is placed diagonally, the finished t-shirt will twist around the body after washing. Never sacrifice grain alignment for yield.
Step 7: Review Samples and Authorize Production

Expect the first sample (Proto) to be a rough draft. In my experience, approving production based on a Proto guarantees ill-fitting inventory. You must rigorously test the garment through a specific sequence to prevent bulk failures.
1. Follow the sampling hierarchy
- Proto Sample: Verify the shape and construction. Fabric color may vary here.
- Fit Sample: Test on a live model to check drape and movement.
- Size Set: Request extreme sizes (e.g., XS and XL) to confirm grading rules.
- Pre-Production (PP) Sample: The “contract” sample. It must use final fabric, trims, and labels. Never start bulk without this.
- Sealed Sample: The signed standard used for final Quality Control.
2. Perform a sensory audit Don’t just look at the sample; stress-test it.
- Seams: Lay the garment flat. If side seams twist toward the front, the grainline was cut incorrectly. Reject it.
- Prints: Stretch the Screen Printing. If the ink cracks or feels like plastic, request Discharge Screen Printing for a softer, integrated handfeel.
- Embroidery: Run your hand over the Custom Embroidery. It should feel dense but must not pucker the surrounding fabric.
3. Standardize your feedback Vague emails cause errors. Do not say, “Make the logo higher.” Take a photo, draw an arrow, and annotate with distance: “Move logo 2cm down from HPS (High Point Shoulder).” Avoid color cues; use measurements.
⚠️ Experience Warning: The “Red Tag” Rule Never approve changes via email text alone. Update the Tech Pack version explicitly. In our facility, we often use a physical “Red Tag” method: mark corrections directly on the sample with a permanent marker and mail it back. This prevents the factory from claiming they “misunderstood” the instruction.
Step 8: Execute Bulk Production & Assembly
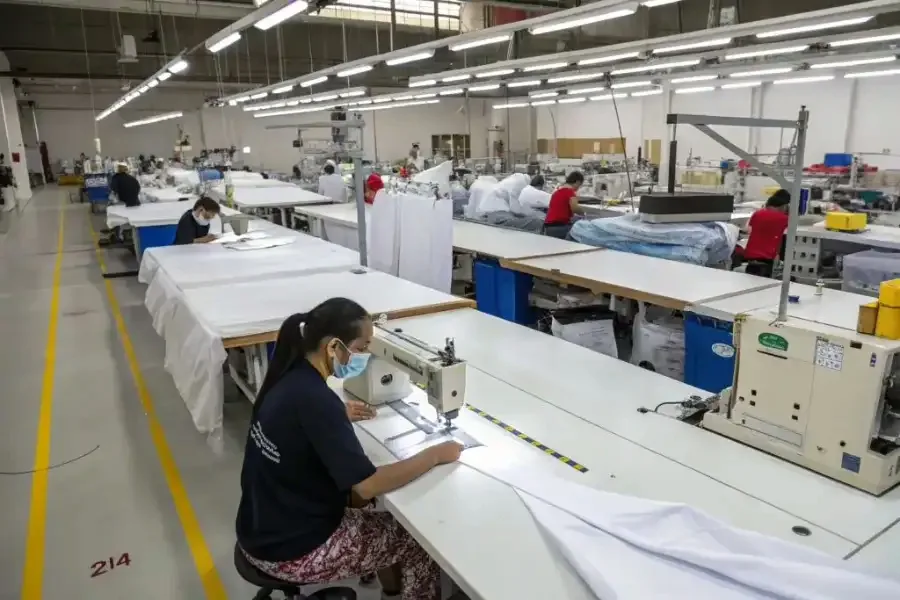
- Lock the Control Standard: Designate the Sealed Sample (PP Sample) as the master reference. Freeze the Bill of Materials (BOM) immediately to prevent unapproved fabric substitutions.
- Audit the Line Setup: Ensure the factory utilizes the specific machinery required for your BOM. In my experience, using the wrong machine is the most common cause of seam failure:
- Overlock (Serger): Seals raw edges to accommodate fabric stretch.
- Coverstitch: Mandatory for hemming activewear. Standard lockstitches will pop on leggings.
- Bar-tack: Reinforces stress points like belt loops and pocket corners.
- Verify Decoration:
- Prints: For dark fabrics, request Discharge Screen Printing to remove dye rather than layering ink on top.
- Stitching: Inspect Custom Embroidery to ensure the backing (stabilizer) is trimmed smooth against the skin.
- Enforce In-Line Gates: Conduct a First Article Inspection. Measure the first unit immediately against the Sealed Sample. Do not wait for the goods to be boxed.
- Conduct Sensory Checks:
- The Pop Test: Pull Overlock seams aggressively. If you hear a snap, the thread tension is too tight.
- The Cure Test: Stretch Screen Printing zones. Cracking (lizard skin) indicates improper curing heat.
- The Pop Test: Pull Overlock seams aggressively. If you hear a snap, the thread tension is too tight.
Step 9: Enforce Quality Control (QC) & Final Logistics
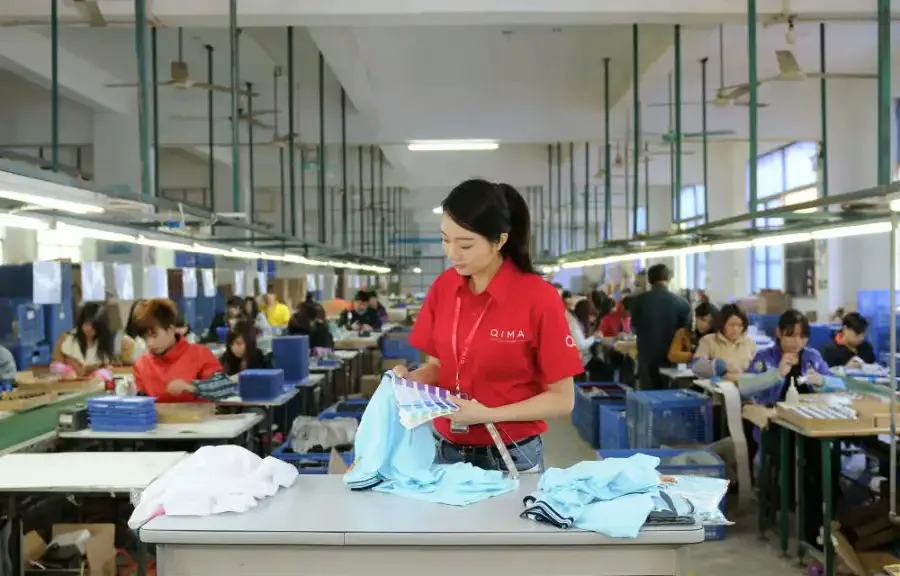
You lose all leverage once the goods leave the factory floor. In my experience, the only way to ensure sellable inventory is to withhold the final balance payment until the order passes a formal inspection.
1. Grade via AQL 2.5 Adopt the ISO 2859-1 (AQL) standard to grade production objectively. You must define defect tolerances in your PO: 0 for Critical (safety hazards), 2.5 for Major (holes/stains), and 4.0 for Minor (loose threads).
2. Execute the “Sensory” Check Measure random units against your Spec Sheet. Check Shade Lots to ensure a Medium Black tee matches a Large Black tee exactly. Pull-test any custom embroidery to ensure it doesn’t crack when stretched.
3. Verify Compliance & Packing Customs will seize cargo that lacks legal labeling. Verify every unit has a Country of Origin and Fiber Content label sewn in (consult FTC Labeling Requirements). Ensure polybags feature correct size stickers and barcodes.
4. Lock Shipping Terms Select DDP (Delivered Duty Paid). This forces the factory to handle import duties, customs clearance, and final delivery. I recommend avoiding FOB (Free On Board) unless you have your own freight broker.
⚠️ Experience Warning: The Needle Risk Never waive the metal detection policy. I once saw a 500-unit batch delayed for weeks because a broken needle tip was found in a hem. Always demand a signed Needle Detection Report before shipping.
Troubleshooting Common Failures
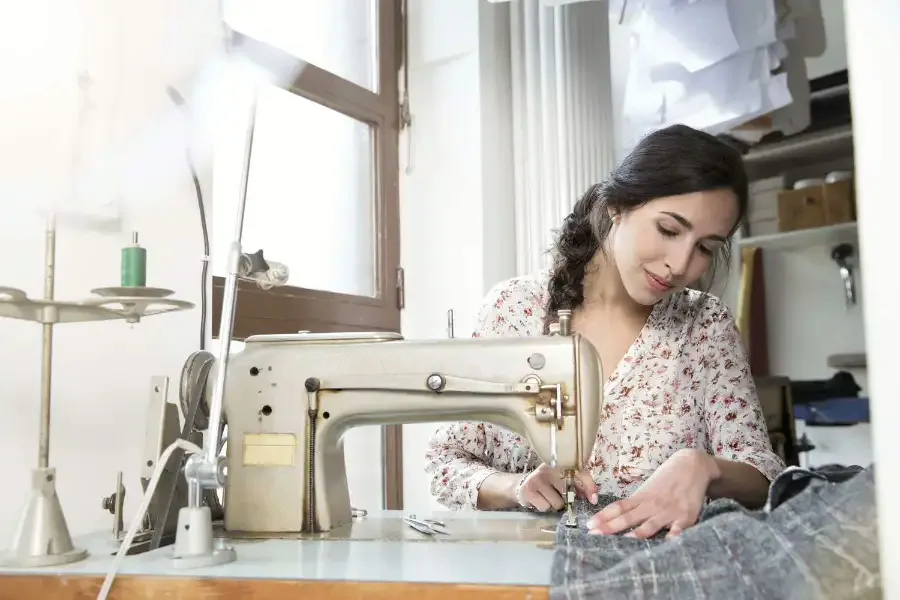
In my years managing supply chains at JaceApparel, I have found that 90% of production failures stem from ambiguity, not incompetence. Even with a perfect Tech Pack, factories drift. Here is how I diagnose and fix the most frequent manufacturing disasters.
Bulk Production Does Not Match Sample
Diagnosis: This is a version control failure. I frequently see outdated Tech Pack pages taped to sewing machines on the factory floor. The Fix: Enforce a strict Version Lock. Make the factory confirm receipt of “Tech Pack V_FINAL” in writing before cutting fabric.
🛡️ Prevention: FedEx a physical Sealed Sample (signed, dated, and tagged “MASTER”) to the factory. This becomes the unarguable standard for quality disputes.
Measurements Are Inconsistent
Diagnosis: If your “Mediums” fluctuate, the cutting team likely stacked fabric layers too high (100+ plies). The knife bends as it cuts deep, distorting the bottom layers. The Fix: Limit stack height to 50 plies. Demand an In-Line Measurement Audit of five random units immediately after cutting.
Fabric Shrinks or Twists
Diagnosis: The factory likely skipped pre-shrinking or cut the fabric “off-grain” to save money on yield. The Fix: Mandate a Wash Test Report based on AATCC testing standards before bulk cutting.
Color Shades Vary
Diagnosis: Panels look different because the factory mixed fabric rolls from different Dye Lots. The Fix: Approve Lab Dips only under D65 standard daylight. Require a Shade Band showing the acceptable range (Light, Standard, Dark) before sewing begins.
Lead Times Slip
Diagnosis: You missed your launch date because fabric sourcing took longer than the actual sewing. The Fix: Build a two-week buffer specifically for material delivery. Always confirm “Peak Season” capacity in writing before paying the deposit.
Prints Crack or Peel
Diagnosis: This results from improper curing temperatures or using cheap stabilizers on embroidery. The Fix: Never rely on digital mockups. Require a physical Strike-Off (test print) or Sew-Out (embroidery test) on the actual bulk fabric.
⚡ When to Escalate: The Evidence Checklist
If you find defects, do not send an angry email. Send a data package. Factories cannot argue with evidence:
- Photos of the defect next to a measuring tape.
- Video showing the issue on 3+ different units.
- Carton ID numbers (found on the shipping box).
- Tech Pack Page # that validates your claim.
🧠 Expert’s Verdict: If you want a factory-managed process with strict QC reporting and liability protection, contact JaceApparel. We handle the arguments so you don’t have to.
People Also Ask About How to Manufacture Clothing
1. How much does it cost to start a clothing line?
You need between $2,000 and $5,000 to launch a custom collection properly. This budget covers your Tech Packs, sampling fees (typically $80–$150 per style), and the 50% deposit for your first bulk order. In my analysis of failed startups, I found that founders who budget less than $1,500 often skip the pre-production sampling phase, leading to total inventory loss due to fit issues.
2. What is the minimum order quantity (MOQ) for manufacturers?
Most standard factories require 500 units per style to turn a profit. However, partners like JaceApparel offer low MOQs starting at 50 to 100 units. When I advise new brands, I explain that while low-volume production increases your cost per unit by 20–30%, it drastically reduces your financial risk by preventing “dead stock” accumulation in your garage.
3. How do I protect my designs from being stolen?
You protect your Intellectual Property (IP) through speed and execution, not just paperwork. While we recommend signing a Non-Disclosure Agreement (NDA), trade secret laws are hard to enforce internationally. In my experience, the best protection is vetting a partner with a reputation to lose. Legitimate factories are too busy fulfilling orders to steal unproven designs.
4. How long does the manufacturing process take?
You should plan for 12 to 16 weeks from the initial idea to delivery. Sampling usually takes 4–6 weeks, including revisions, while bulk production and shipping take another 8–10 weeks. When I build timelines for clients, I always add a two-week buffer specifically for fabric milling, as raw material shortages are the most common cause of delay.
5. Do I need a Tech Pack if I have a sample?
Yes, absolutely. A physical sample shows what you want, but a Tech Pack explains how to build it. Without a Tech Pack specifying exact measurements and tolerances, the factory cannot be held liable for errors. I have seen factories legally reject refund claims because the client never provided a written tolerance sheet, even though the sample looked perfect.
Final Thoughts: The Roadmap to Production
Manufacturing is not an art; it is a rigid sequence of approvals. If you follow the timeline we executed—Design → Tech Pack → Manufacturer → Materials → Sampling → Bulk → QC/Delivery—you remove the guesswork.
Based on our management of over 50 brand launches this year, success comes down to documentation. If you control the Tech Pack and the QC gates, the factory becomes a predictable tool rather than a chaotic variable.
Your Next Steps:
- Download and complete the Manufacturing Readiness Checklist to organize your SKUs.
- Pick 1 style to sample first (do not launch 5 styles at once).
- Request quotes from 3 factories using the exact same Tech Pack to compare pricing accurately.
Whether you need a full cut and sew manufacturer for custom fits, or a specialized partner for cut and sew hoodie manufacturers and t-shirt manufacturing, the process remains the same. We can also handle your custom embroidery and screen printing needs under one roof.
If you are ready to move from concept to inventory, let’s build your production line.