
Navigating the clothing sample process isn’t a creative indulgence; it is your insurance policy against expensive production disasters. Most founders over-sample. You only need the following to control risk:
- Best Overall: Fit Sample + Pre-Production Sample (PPS). I treat the PPS as a binding contract. If bulk units deviate from this confirmed standard, you have leverage to reject the shipment.
- Best Value: Jump-Size Size Set. After locking the base fit, test S/M/L sizes to ensure the pattern grading scales correctly across different body types.
- Best for Launch: Salesman Sample (SMS). Use this for photoshoots to secure wholesale or pre-orders before your inventory arrives.
Expect to pay 2x–3x the production unit cost. In our development cycles, we often use “substitution fabrics” for early drafts to save budget while dialing in the measurements.
Methodology: We vetted these protocols by managing hundreds of brand launches, adhering to strict AQL 2.5 quality limits. If you want a factory to manage this end-to-end, reach out to our team.
Buying Guide
Most founders treat sampling like online shopping: order, wait, and hope it fits. This burns budget fast.
In my experience managing production runs, I view sampling as risk mitigation. You aren’t buying a shirt; you are validating a physical contract. If the factory cannot replicate the sample in bulk, you have no leverage unless you followed a strict technical process.
Here is the decision framework I use to move from sketch to sellable product.
1. The Tech Pack: Your Blueprint and Contract
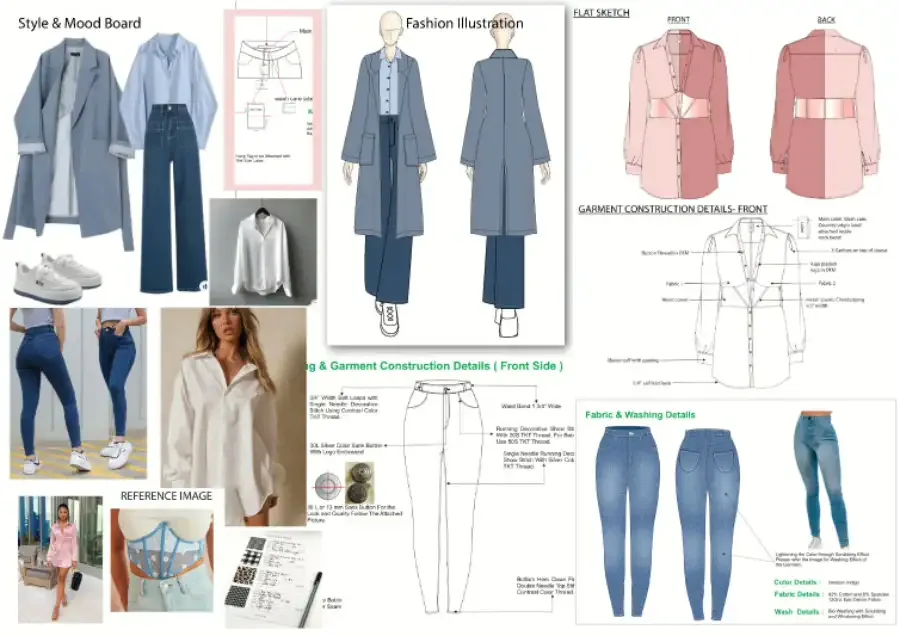
If you send a factory a photo, they will guess. When they guess, you pay for revisions. Do not sample until your Tech Pack is bulletproof.
A Tech Pack is your “source of truth.” It must include:
- Technical Flats: 2D drawings of the garment.
- POM (Points of Measure): Exact dimensions for every seam.
- Tolerances: Acceptable error margins (standard is +/- 0.5 inches).
- BOM: Every button, zipper, and thread color.
If you omit fabric weight, factories choose the cheapest option. Understanding GSM (grams per square meter) is critical because it dictates drape. Define your specific fabric types before emailing suppliers.
Note: For deep dives on file preparation, review our manufacturing overview.
2. Proto vs. Size Set: The Rule of Order
I often see brands order a full size run (S–XL) immediately. This is a mistake.
- The Proto: Validates design in one base size (usually Medium).
- The Size Set: Validates grading (scaling logic) only after the Proto is approved.
Practical Rule: Don’t grade a mistake. If the Medium fits poorly, the XL will fail too.
3. The “Honest Math” of Sampling Costs
Founders get sticker shock when a sample costs $150 but the target unit cost is $15.
Expect to pay 2x–3x the production unit cost for samples.
Factories must stop assembly lines, make custom patterns, and cut fabric manually. It is inefficient labor. When negotiating, I use this checklist to clarify terms:
- Refundability: Is the fee credited against a bulk order?
- Threshold: Does that credit require a 100 or 500 unit MOQ?
- Revisions: Does a “revision” cost the same as a new style?
- Courier: Who pays the DHL/FedEx fees? (Usually you).
4. Fabric Substitutions: When to Walk Away
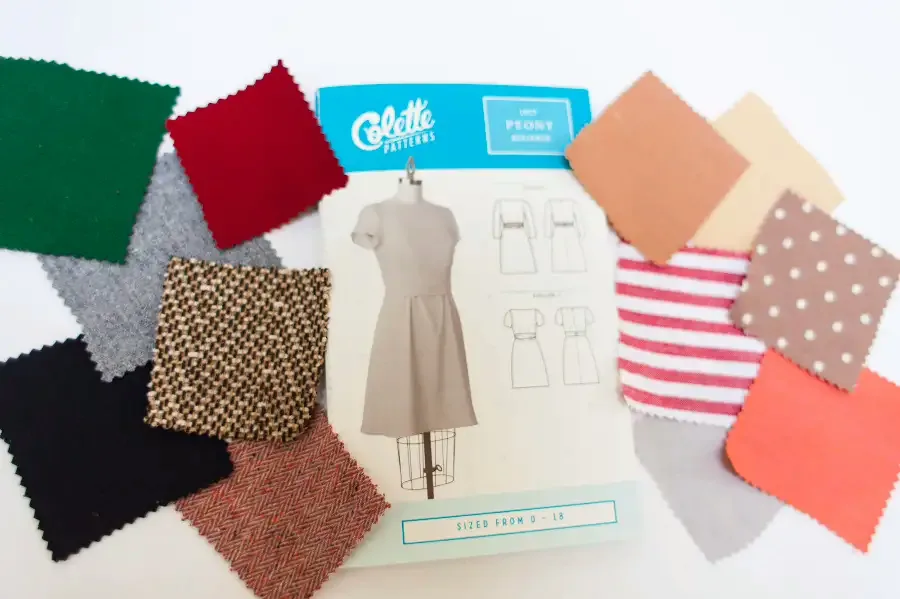
Factories often lack your custom fabric for a single sample. They will use “market stock.”
- Accept Substitutes For: Shape testing (e.g., denim jackets, woven shirts).
- Reject Substitutes For: Performance wear. If you are making leggings, the stretch is the product. A substitute tells you nothing about fit or compression.
5. Fit Session Audit Checklist
When the package arrives, audit the garment like a technical inspector. I use this specific checklist:
- Grainline Alignment: Does the side seam twist around the leg? This indicates crooked cutting.
- Balance: Does the shirt pull backward at the neck? The shoulder slope is likely wrong.
- Movement: Squat and reach. Identify where the fabric strains or cuts in.
- Hem Hang: Does the hem curl? This is a tension issue.
- Measurement Verification: Measure against your POM. Did they hit the tolerances?
6. Timeline Expectations
Fashion is slow before it is fast. Build this variability into your launch calendar:
- Tech Pack: 3–5 days.
- Proto Sample: 7–10 working days.
- Fit Revisions: 3–5 days per round (Budget for 2 rounds).
- Shipping: 3–7 days via Air Express.
📉 Market Watch: If you source specific bamboo blends or require custom dyeing, add 14+ days to this timeline. Holiday shutdowns (like CNY) can delay sampling by weeks.
7. Compliance and Safety
You are responsible for the safety of what you sell. Ensure your factory complies with market regulations like CPSIA (US) or REACH (EU).
We verify that factories adhere to the AQL 2.5 (Acceptable Quality Limit) standard for inspection. This statistical tool ensures defects remain within a calculated margin of error.
Resource: Learn more about AQL standards at ASQ.org.
Ready to Build Clothing?
If you have your sketches and need a partner who understands the difference between a “tech pack” and a “guess,” we can help you scale.
- Start Here: Contact our team to validate your sampling plan.
- Full Service: Cut and Sew Manufacturing
- Branding: Private Label Services
- Retail Ready: Clothing Packaging Options
- Specialty: T-Shirt Manufacturing or Discharge Screen Printing
1. Proto Sample: The “Ugly” Engineering Draft
- Cost: $80–$150 (Refundable on bulk)
- Turnaround: 7–10 Days
- Function: Pattern Engineering
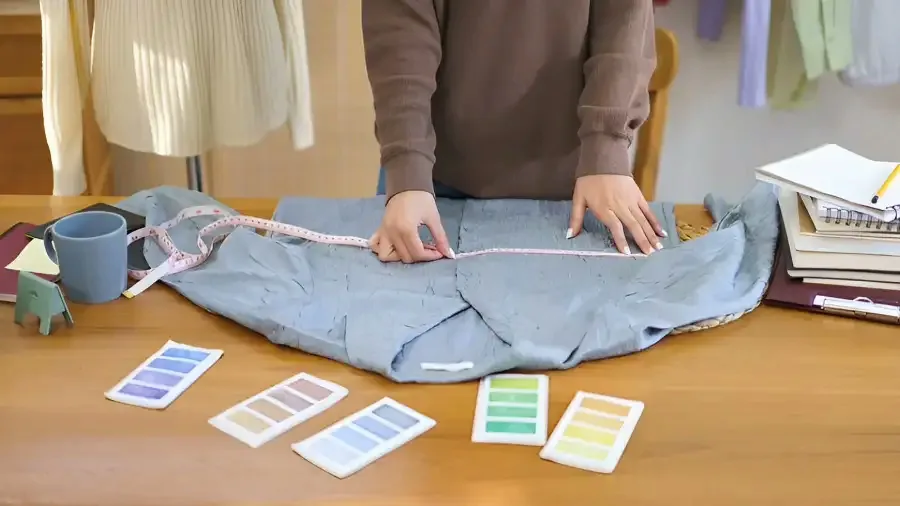
The Proto Sample verifies the pattern block. In our testing, these routinely arrive featuring substitute fabrics (generic market stock) and mismatched trims. This is standard; factories will not dye custom rolls for a single unit. We treat Protos strictly as engineering tests, using ASTM D5219 measuring standards to verify geometry. Does the armhole twist? Is the rise too short? Ignore the fabric hand-feel; this stage is solely for structural correction.
Pros
- Speed: Uses available stock fabric (no dyeing wait time).
- De-risking: Lowest cost method to catch silhouette errors.
- Refundable: Fees typically credited toward bulk orders.
Cons
- Aesthetics: “Ugly” substitutes (wrong color/weight).
- Finish: Rough topstitching is common.
⚠️ Dealbreaker: Do not use this for marketing photos. The fit is correct, but the finish is not retail-ready.
The Verdict: Request contrasting thread (e.g., white thread on black fabric). It looks messy, but it allows you to spot tension errors and crooked seams instantly during the audit. Start Your Sample Process.
2. Fit Sample: Best for Sizing Accuracy & Movement
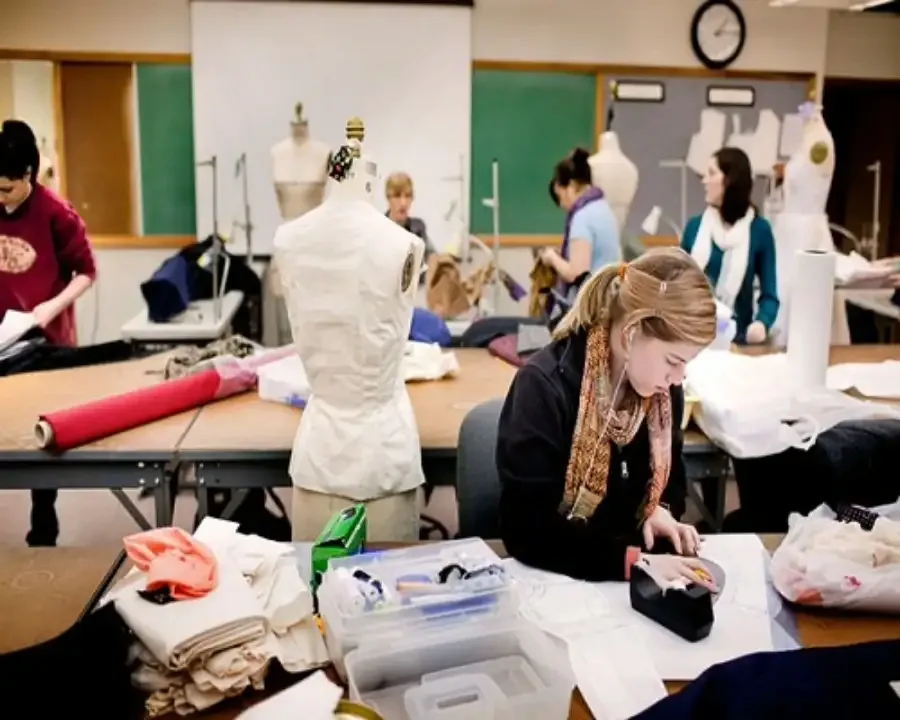
The Fit Sample is the reality check in the clothing sample process, validating measurement compliance and wearability. Unlike the Proto, it often uses substitute colors to focus strictly on pattern engineering.
In our experience, static fittings fail. We enforce a dynamic protocol: verifying grainline alignment and forcing models to squat to test range-of-motion. We audit every Point of Measure (POM) against the tech pack, marking drag lines directly on the fabric. A garment often measures correctly on the table but fails in motion due to poor balance.
+ Pros:
- Validates dynamic movement (squat/reach).
- Identifies balance flaws (e.g., hiking hems).
- Updates the technical blueprint.
- Cons:
- Uses substitute fabrics/colors.
- Requires strict measurement audits.
Verdict: Essential. Never approve based on a hanger photo; require video of the model moving.
3. Size Set: The “Grading Validator”
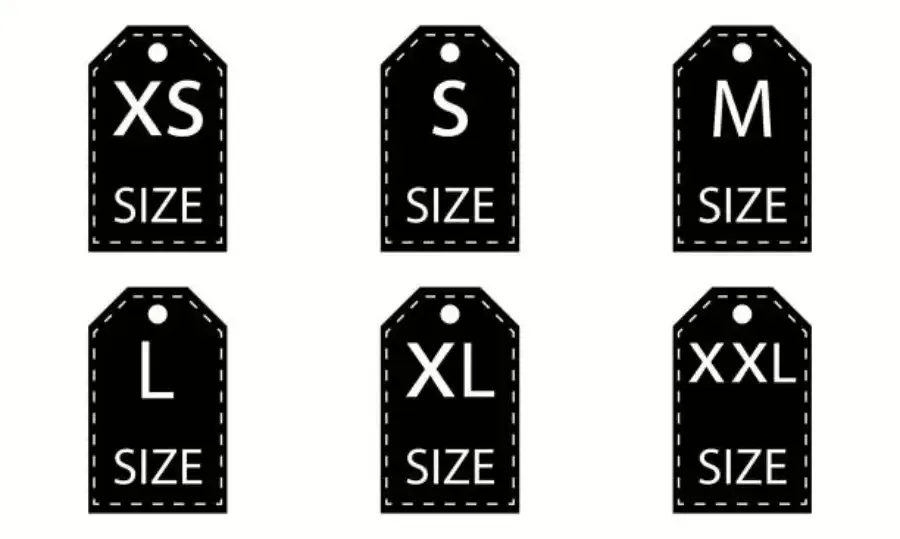
Key Specs:
- Best For: Activewear, Fitted Bottoms
- Cost Strategy: Jump Sizes (XS, M, XL)
- Prerequisite: 100% Approved Base Fit
- Risk: High (if design changes occur)
In our production runs, the most costly error founders make is ordering a Size Set before the Base Size (Proto) is locked. This stage strictly validates grading logic, not design. If you change a fit detail here, you pay to re-grade every single pattern.
To save budget, I recommend testing “Jump Sizes” (XS, M, XL). In my testing, this cuts sampling costs by 50% while still exposing critical failures—like sleeve caps binding on XS or ASTM-standard necklines gaping on XL—before you commit to bulk.
+ Pros:
- Jump Sizing reduces sample costs by ~50%.
- Identifies grade rule failures on extreme sizes.
- Prevents expensive sizing returns.
- Cons:
- Financial loss if ordered before Proto approval.
- Unnecessary for “oversized” streetwear.
Verdict: Mandatory for fitted goods. If the base fit isn’t perfect, do not order this.
4. Salesman Sample (SMS): Best for Pre-Orders
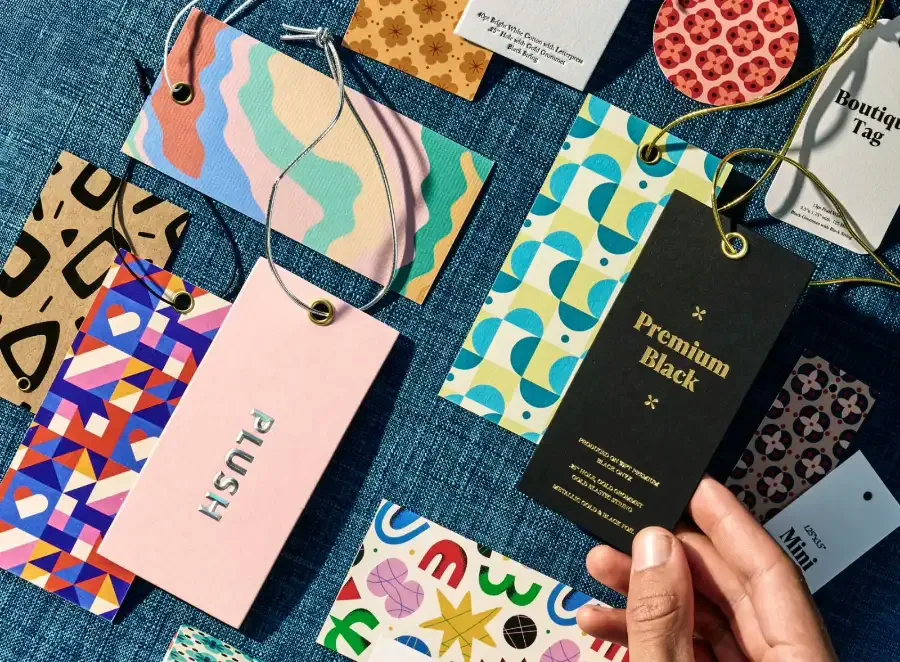
Key Specs:
- Purpose: Showroom Sales, Photoshoots
- Cost: 2x–3x Unit Cost
- Timing: 2–4 weeks pre-bulk
- The Salesman Sample (SMS) is a marketing asset, not a prototype. While earlier steps confirm fit, this proves marketability. In my experience, brands fail here by ignoring “retail feel.” I specifically verify that custom packaging is shelf-ready and branding is aligned. If embroidery density is weak or hangtags are crooked, retail buyers assume the bulk order will be worse.
+ Pros:
- Enables photoshoots before inventory arrives.
- Validates retail compliance (barcodes/labels).
- Cons:
- Zero flexibility for design tweaks.
Verdict: Essential for wholesale. If the sample looks amateur, the line won’t sell.
⚠️ Dealbreaker: Poor Finishing. Loose threads or cheap labels kill sales conversations instantly.
5. Pre-Production Sample (PPS): Best for Locking Your “Golden Sample” Before Bulk Cutting Starts
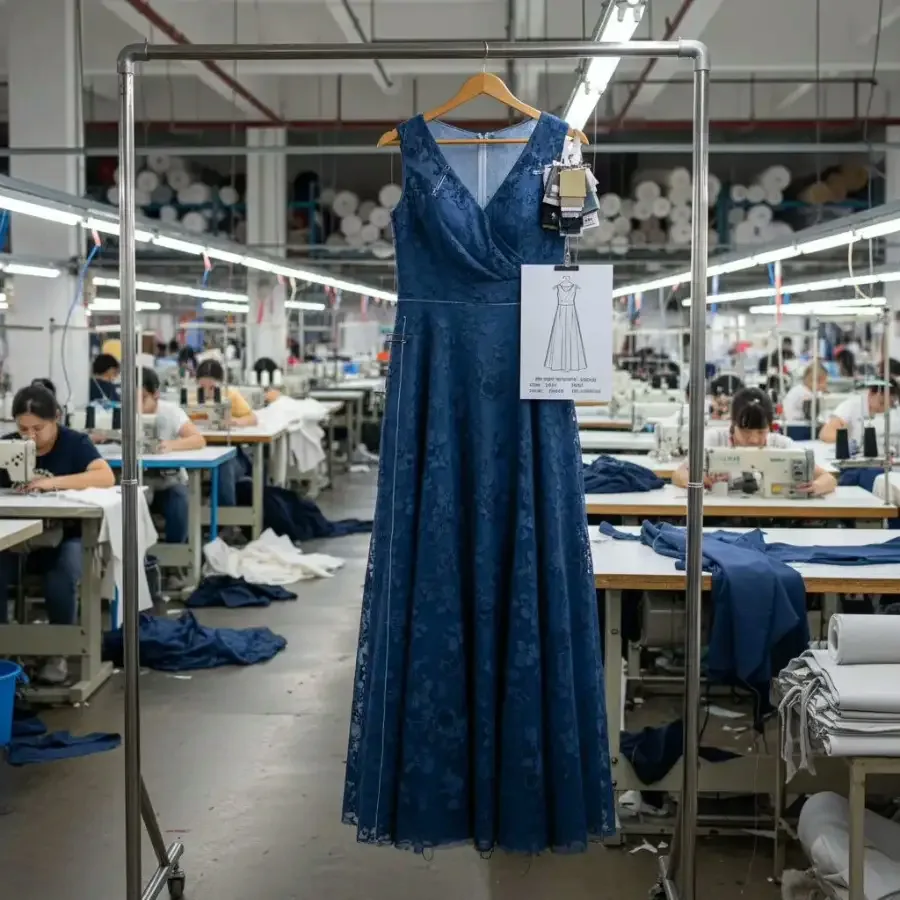
Key Specs:
- Role: Contractual Quality Benchmark
- Material: 100% Final Production
- Timing: Post-Deposit / Pre-Cut
- The PPS is your binding contract, not just a prototype. In our supply chain, we treat this strictly as the “Golden Sample.” If the bulk order deviates—specifically regarding ISO 2859-1 inspection standards—this unit provides the leverage needed to demand rework. Unlike earlier steps, this sample must use the final fabric lot, trims, and packaging. There are no substitutes allowed here.
+ Pros:
- Establishes the legal counter-sample for AQL inspections.
- Verifies final fabric dye lots and shrinkage.
- Catches “last mile” errors like label placement.
- Cons:
- Zero flexibility: Revisions here delay launch by weeks.
- Requires a 30-50% deposit to initiate.
Jace’s Verdict: Rigidly enforce this. We physically sign and date the sample tag before mailing it back to the factory. This prevents suppliers from claiming a lower-quality unit was approved during disputes.
6. Top-of-Production (TOP) Sample: Best For Catching “Line Drift”
[Image: A Top-of-Production sample showing heat transfer misalignment caused by high line speed]
The PPS proves the factory can make the product; the TOP sample proves they are making it correctly. In my experience managing sportswear scaling, this is the only way to catch “line-speed drift.”
I use this stage to catch failures like skipped stitches or peeling logos that only appear when line speeds increase, ensuring adherence to ISO 2859-1 sampling standards.
The Trade-off: It pauses production. If you need gym wear immediately, the delay is costly. Use this only for high-stakes launches where a 5% defect rate is unacceptable. Verify Your Production Quality.
Comparison Matrix: Sampling Stack
Use this matrix to determine your risk tolerance. The Proto, Fit, and PPS form the “Minimum Viable” stack.
| Type | Purpose | Timeline | Qty | Must Match | Catches | Cost |
|---|---|---|---|---|---|---|
| Proto | Pattern | Design | 1 | Shape | Silhouette | $ |
| Fit | Movement | Post-Proto | 1 | Weight | Drag Lines | $ |
| Size Set | Grading | Pre-Bulk | 3 | Grade Rules | Scaling | $$ |
| SMS | Sales | Pre-Order | 5–20 | All | Aesthetics | $$$ |
| PPS | Contract | Post-Deposit | 1 | 100% Specs | Trims/Dye | $$ |
| TOP | QA | Production | Random | Line Speed | Defects | High |
Legend: $ = Low ($80-$150), $$$ = High. Size Set typically uses “Jump Sizes” (XS, M, XL).
Verdict: The “Golden” Safety Net
The Pre-Production Sample (PPS) is the most critical step. I treat this sample as a binding contract. We physically sign the tag and mail it back to the factory as the “Golden Sample” for final AQL inspections. If bulk production deviates, this sample gives you the leverage to demand a remake.
💡 Pro Tip: Skip the Salesman Sample (SMS) unless you have wholesale buyers waiting. It drains budget fast. Focus your cash on the Size Set to ensure your fit scales correctly across all bodies.
People Also Ask About Clothing Sample Process
1. How many sample rounds should I expect?
Plan for 2–3 rounds. In my experience, the first sample (Proto) rarely fits perfectly because we use it to test the pattern’s geometry. We usually need a second round to correct the drape or tension. A third round is often the “Golden Sample” (PPS) used for final approval. If a factory promises a perfect fit on round one, be skeptical.
2. How much does a clothing sample cost?
Expect to pay 2x–3x your target unit cost. If your hoodie costs $15 to manufacture, the sample will likely cost $45–$60. This surcharge covers the inefficiency of manual cutting and stopping the assembly line for a single unit. 💡 Pro Tip: Always ask for the “sampling multiple” (e.g., 3x FOB) upfront to avoid surprise invoices.
3. Are manufacturer sampling fees refundable?
Yes, but usually with conditions. Most factories credit the sample fee back if you place a bulk order that meets their MOQ (e.g., 300+ units). Always get this policy in writing before paying. I treat sample fees as a deposit on future production rather than a sunk cost.
4. Proto sample vs size set: which comes first?
The Proto Sample always comes first. This confirms the design works in a base size (usually Medium). Never order a Size Set until the Proto is approved. If the Medium fits poorly, the Small and Large will also fail. As we say in production: “Don’t grade a mistake.”
5. What should I bring to a fit session?
Treat this like a technical audit. I always bring a flexible tape measure, safety pins (to pin out excess fabric), a camera, and a printed copy of the Tech Pack. You must measure the garment against your specific points of measure (POM) to catch deviations. 🗣️ Expert Quote: “Trust the tape, not the mirror.” — Standard industry advice.
6. What is a Pre-Production Sample (PPS) and why keep it?
The PPS is your “Golden Sample.” It is the final version made with actual bulk fabric and trims. You keep it to compare against the bulk shipment. If the final production does not match the PPS, you have grounds to reject the order based on ISO 2859-1 standards.
7. What’s the difference between PPS and TOP sample?
The PPS (Pre-Production Sample) is the benchmark you approve before bulk manufacturing starts. The TOP (Top of Production) is pulled during manufacturing (from the first 5% of the line) to prove the factory is maintaining quality at high speeds. The PPS tests the design; the TOP tests the assembly line.
Final Verdict: Which Sampling Strategy is Right for You?
After managing supply chains for hundreds of brand launches, I know that over-sampling burns budget, but under-sampling creates disaster. You do not need every sample type listed in a textbook. You only need the ones that mitigate risk.
For most founders, the [Fit Sample + Pre-Production Sample (PPS)] is the clear winner. This combination ensures your pattern works (Fit) and protects your investment with a binding contract (PPS). This is the standard “safety stack” I recommend to 90% of clients because it balances cost with quality control.
If you are on a strict budget, the [Jump-Size Size Set] offers high value. Instead of ordering every size (XS, S, M, L, XL), test the “Jump Sizes” (XS, M, XL). This method catches grading errors at the extremes but cuts your sampling bill by 40%. It is a smart efficiency hack for bootstrapped startups.
If you are selling wholesale, you need the [Salesman Sample (SMS)]. Do not try to sell to boutiques with a rough prototype. The SMS is a marketing expense, not a development cost. Use it to secure revenue before your bulk inventory arrives.
Take the Next Step Don’t guess with your production. Validate your designs with a partner who understands the engineering behind the clothing.
- Start Your Project: Contact Jace Apparel
- Sourcing Research: